
Last updated September 20, 2026
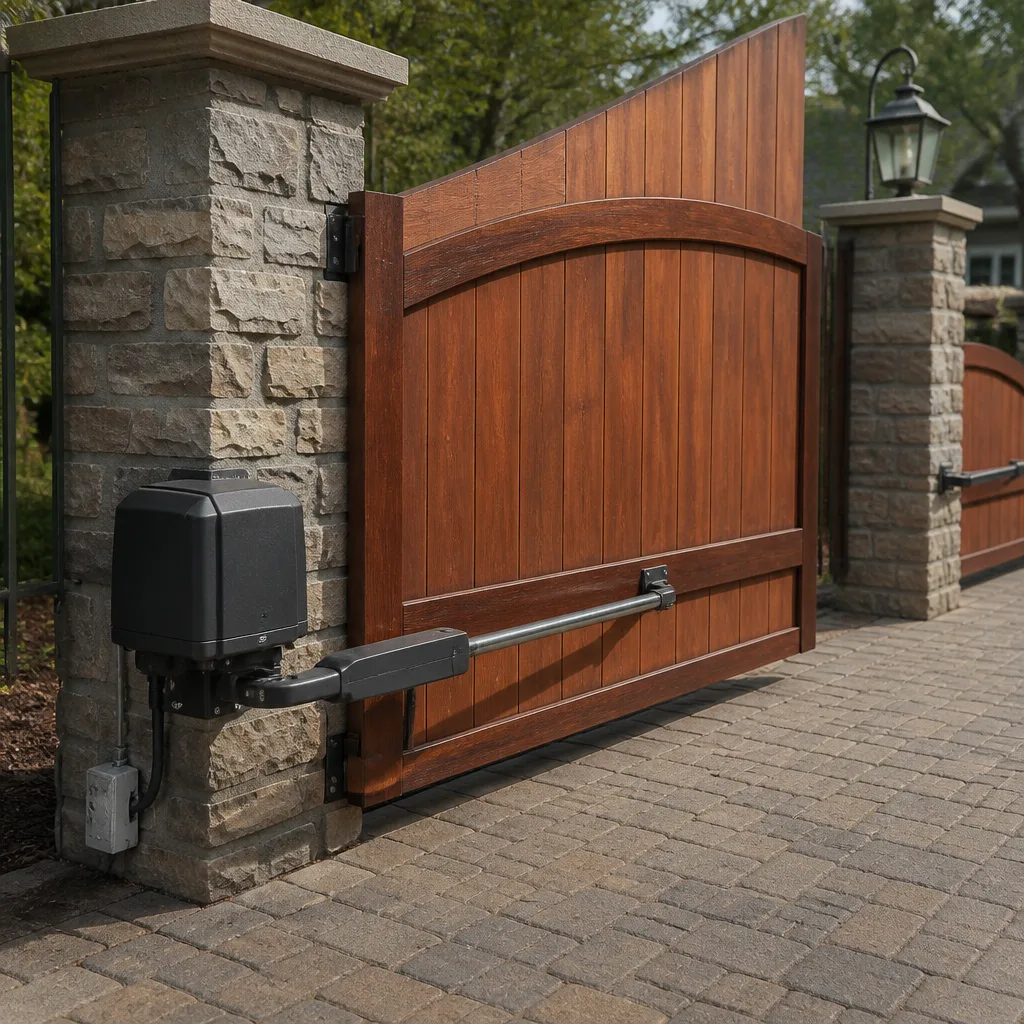
Free on-site gate assessment - hinges, posts, and your LiftMaster or Nice gate operator checked before anything is quoted
The assessment is free and the quote is the invoice.

 Before
 After
After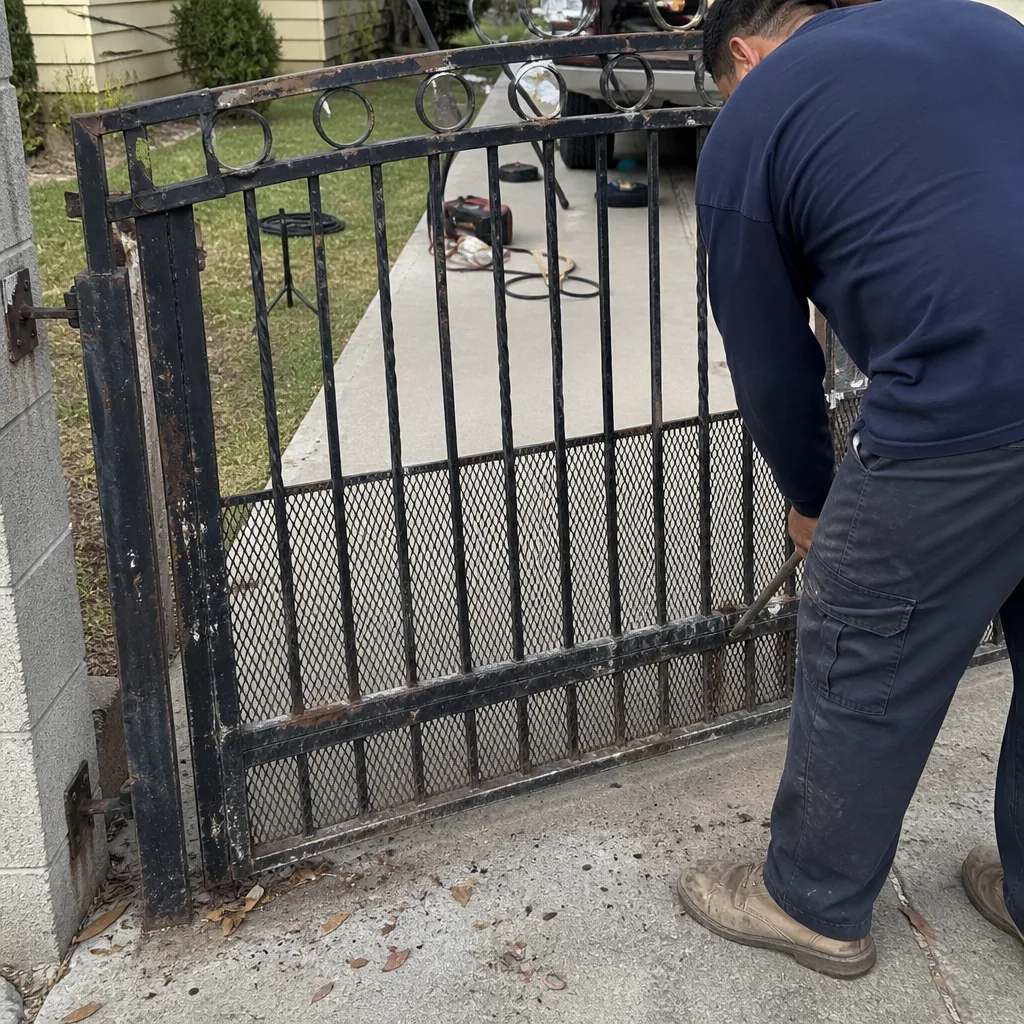 Before
 After
After Before
 After
AfterGate Repair Maintenance Checklist for Long Beach Homeowners
Most printed maintenance checklists treat a gate in Long Beach the same as one in Bakersfield. They don’t account for the fact that a hinge pin two miles from the ocean corrodes measurably faster than one ten miles inland, and that difference changes which items you check first and how often. Walk through Belmont Shore, Naples, or the Peninsula on any given week and you’ll see gates with rust blooming at the weld points while the motors still run fine. The gate fails from the outside in. This guide gives you a sequence built for coastal exposure: salt-air points first, objective thresholds instead of “looks okay,” and a photo baseline you can hand to any technician five years from now. You’ll also see the two skipped items, limit-switch position and ground continuity, that drive more avoidable emergency calls in Long Beach than any broken hinge.
Quick Answer
A Long Beach gate maintenance routine should check corrosion at hinge pins and weld points first, then operator torque and limit-switch position, battery voltage under load, safety sensor alignment, and ground wire continuity, roughly every three months for properties within two miles of salt water and every six months inland. Document each check with photos and written readings so a future repair visit starts from a baseline instead of a guess. Most catchable failures, worn hinge pins, drifted limits, corroded grounds, cost between $40 and $400 to fix when caught early; left alone, the same items become motor replacements and welded frame repairs that run into four figures.
Table of Contents
- The Long Beach Sequence: Why Order Matters
- Monthly Visual Inspection: The 10-Minute Walk-Around
- Measuring Hinge and Bearing Play: Thresholds That Replace Guessing
- Operator Torque and Limit-Switch Position: The Two Skipped Items
- Battery and Power Checks: Coastal Load Testing
- Sensor Alignment and Photo-Eye Testing
- Building a Photo Baseline: What a Useful Record Looks Like
- The Seasonal Long Beach Maintenance Schedule
BeforeAfterThe Long Beach Sequence: Why Order Matters
A maintenance checklist printed in alphabetical order starts with bearings and ends with wiring. That serves nobody. We order this sequence by what actually fails first on a coastal Long Beach gate, and the data from 22,000+ our Gate Repair services since 2014 is consistent: salt damage to hardware outpaces every other failure mode on properties west of the 710, especially in Alamitos Heights, Bluff Park, and anywhere the marine layer sits for hours each morning.
Here’s the order we use, and why it differs from a generic list:
- Hinge pins and bearing surfaces – Salt air penetrates the hinge gap within months, not years. A pin that looked clean in February can show pitting by May.
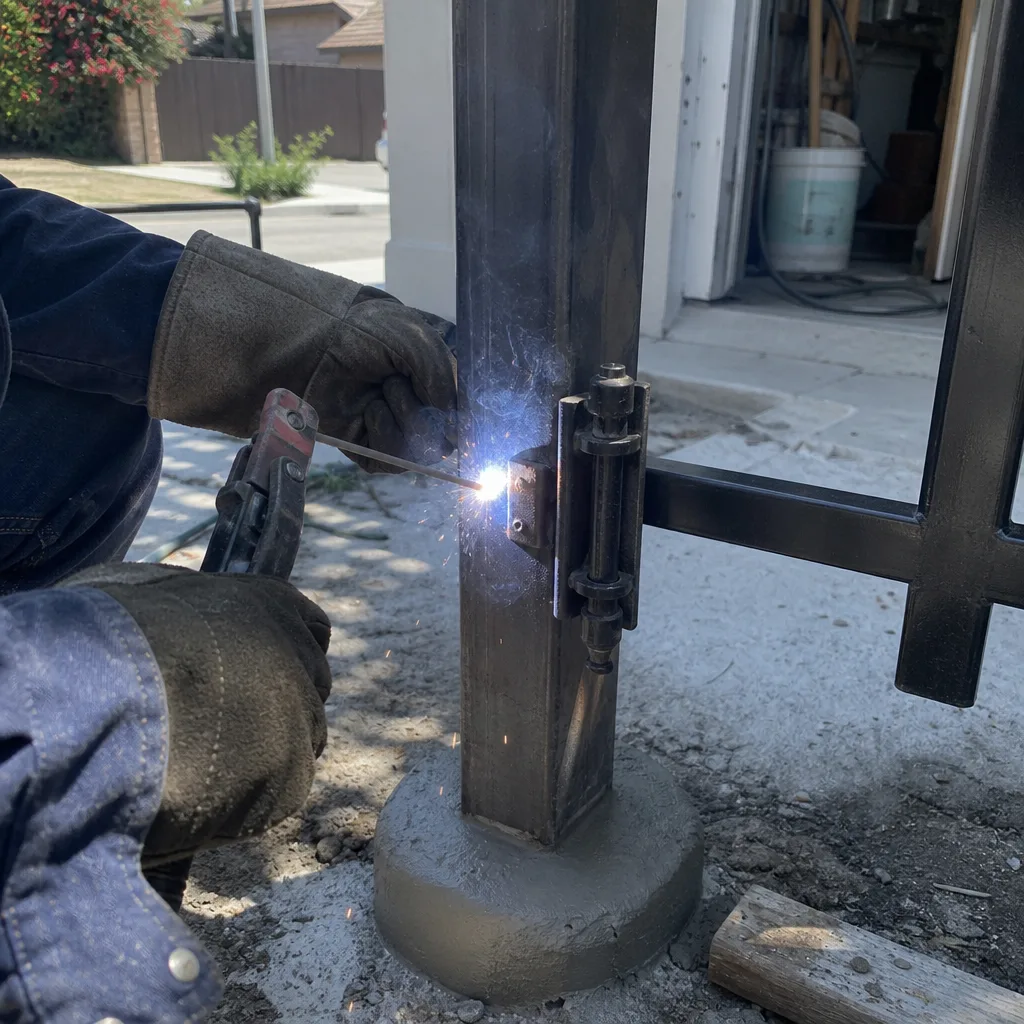
- Weld points and frame corners – Gates flex every cycle, and flex cracks open paint at the joints first. Salt gets into the crack and works inward.
- Operator arm brackets and attachment bolts – These carry the entire force of the gate. A loosening bracket accelerates wear on everything downstream.
- Limit-switch position – Drift here means the operator over-travels or under-travels, straining the motor and slamming the gate against its mechanical stop.
- Battery and power supply readings – Coastal humidity corrodes terminals and creeps into low-voltage connections.
- Photo-eye and safety edge alignment – Less frequent as a failure point but critical when it does fail, since a misaligned sensor means the gate reverses mid-cycle and the motor runs longer doing it.
- Ground wire continuity – Rarely checked, often the root cause of intermittent operator faults that get misdiagnosed as bad boards.
Checking the most corroded point first means you find the failure while it’s still a $40 repair. Waiting until the operator strains hard enough to trip a thermal cutoff usually puts the job into gate motor and opener repair territory, and often a full replacement instead of an adjustment.
Monthly Visual Inspection: The 10-Minute Walk-Around
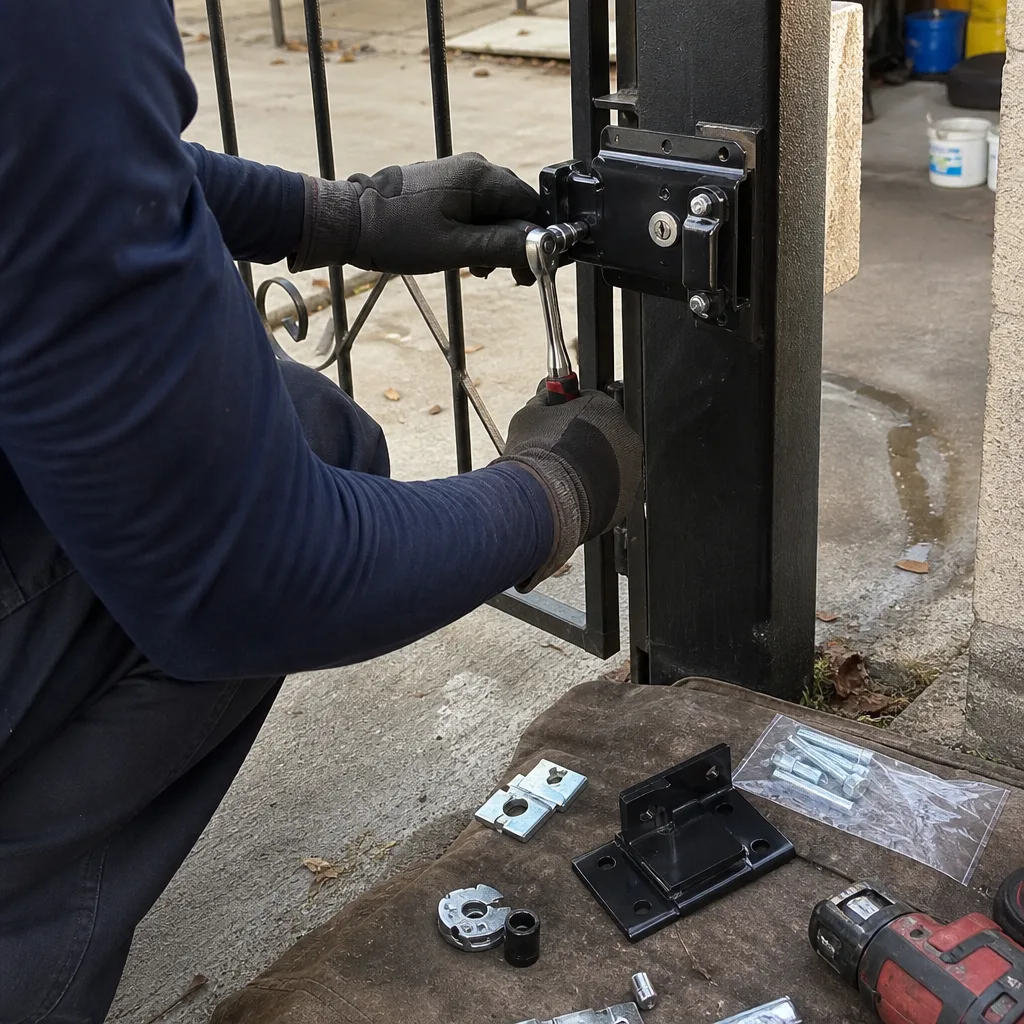
This is the check you do with your phone camera and your eyes. No tools, no ladder, no effort beyond ten minutes. It catches the majority of coastal Long Beach gate problems before they become service calls.
What you’re looking for each month:
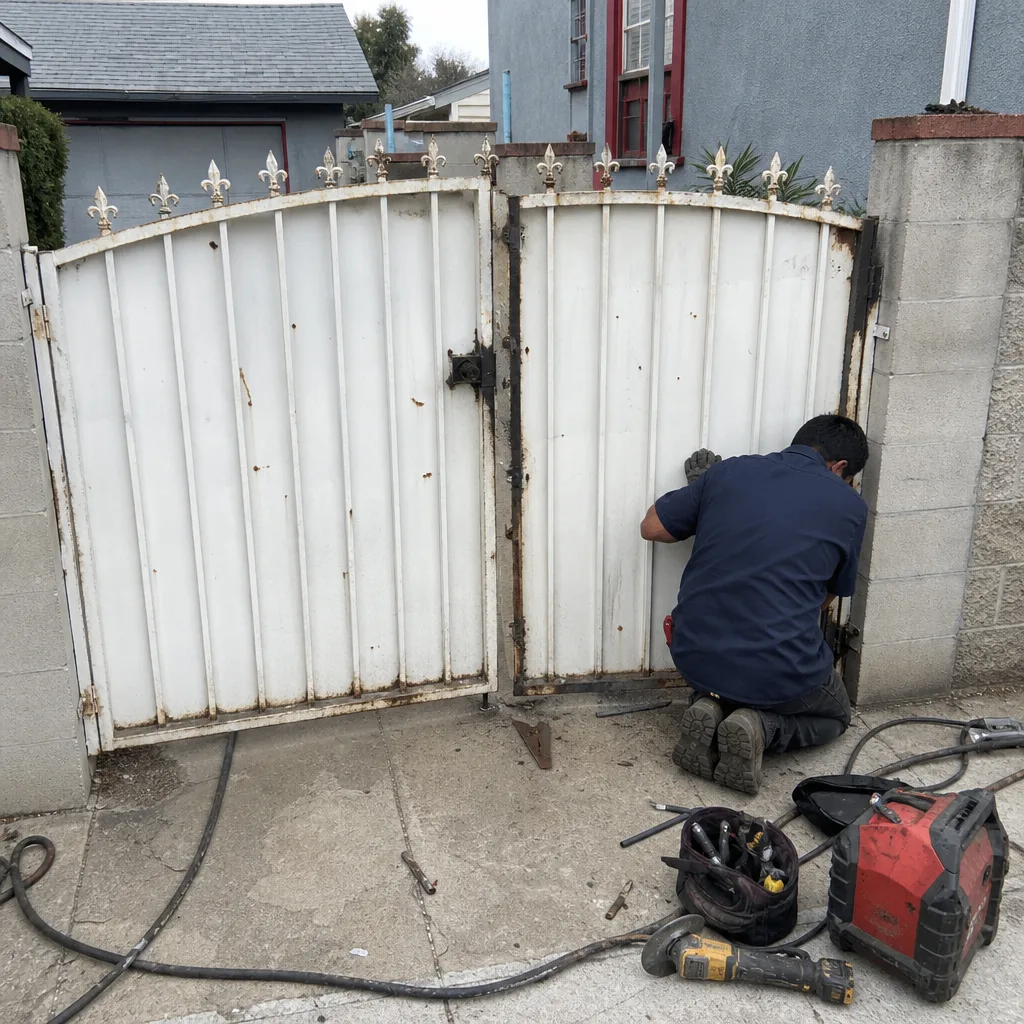
- Rust blooming at any joint, bolt head, or weld point. Light surface rust is cosmetic and can wait for cleaning and paint. Flaking rust or rust at a load-bearing connection needs attention within weeks, not months. Flaking means the pin or bolt is losing cross-section to corrosion.
- Gate movement that’s no longer smooth. Open the gate manually with the operator released. It should swing or slide with one hand using steady, even pressure. If you feel a hitch, a grind, or a point where the gate wants to drift back, something mechanical has changed.
- Sound changes in the operator. A motor that used to purr and now whines, or one that labors at the same spot in every cycle, is telling you about a mechanical load increase. The cause is usually a hinge or bearing, not the motor itself.
- Gaps between the gate and its latch or stop. Measure the space when the gate is fully closed. Write it down or photograph it with a tape measure in frame. When that gap widens, the hinges are wearing or the posts are shifting.
- Ground contact or vegetation contact. Anything touching the bottom rail, ivy wrapping a picket, a sprinkler throwing water at the operator base. Repeated moisture contact is a corrosion accelerant.
Photograph anything that looks new or different. The goal isn’t to judge your own work; it’s to build a record you can compare against next month. We’ve walked up to too many Long Beach gates where the homeowner says “it’s been doing that for a while” but has no photo from three months ago to show us what “that” looked like then. Our documentation habit, the reason we photograph every finding on every visit, exists precisely because memory is a poor maintenance tool.
Measuring Hinge and Bearing Play: Thresholds That Replace Guessing
“Looks okay” is not a measurement. On most Long Beach residential gates, hinge health is the single best predictor of upcoming operator failure, and you can quantify it without special equipment.
How to check play:
- Release the operator so the gate can be moved by hand. On most residential operators, a release handle is on the side of the motor housing.
- Grip the gate near the latch side, the point farthest from the hinges.
- Lift straight up with moderate force. The vertical play you feel is pin wear and hinge cup wear.
- Now push and pull the gate along its travel axis, again at the latch side.
Measure or estimate the movement at the hinge end. Here are the thresholds we use:
- Less than 1mm of vertical play at the hinge: Normal for a gate under five years old. Keep monitoring.
- 1-2mm of vertical play: Early wear. Plan to replace hinge pins or bushings within the next six months on a salt-exposed property. You don’t need to act today, but note it in your baseline.
- More than 2mm of vertical play, or any visible sag at the latch end: This is a repair item. The gate is starting to hang from its operator and its closing hardware instead of from its hinges. Every additional week adds load to the motor and wear to the latch.
- Audible clicking during movement, especially with lateral movement: Bearing or bushing failure. This is a mechanical repair, not a lubrication problem.
- The gate slams against the open or close stop. A properly adjusted gate decelerates and stops without impact.
- The operator hums for a second or two after the gate stops moving.
- The gate reverses itself a few inches after closing.
- You hear a ratcheting or clicking noise at the open or closed position.
- Terminal condition. Disconnect the battery only if you’re comfortable doing so and can safely re-terminate it. Corrosion appears as a white or green fuzz on the terminals. Light surface corrosion can be cleaned with a terminal brush; significant corrosion means the cable ends need replacement.
- Voltage at rest. A healthy 12V battery reads 12.6V or higher at rest. 12.2V means about 50% state of charge. Anything below 12.0V at rest is a failing battery.
- Voltage under load. This is the measurement that matters and the one almost nobody does. Trigger a gate cycle while measuring voltage. If the voltage drops below 10.5V during the cycle, the battery cannot deliver the current the operator needs. It may bounce back to 12.4V at rest and look fine on a quick check, while failing under real conditions.
- Charging voltage while connected to AC power. With the charger running, terminals should read between 13.4V and 13.8V. Below 13.0V, the charger or transformer is underperforming.
- Look at the photo-eye housings. Most have an indicator LED that shows alignment status. Solid green or solid red typically means aligned; a blinking LED means misaligned or blocked.
- Close the gate. Stand in the gate path with the gate closing toward you. Break the beam with your leg. The gate should stop or reverse immediately.
- If it doesn’t, clean the lenses with a dry cloth and retest. Coastal grime builds a film on these lenses faster than you’d think. If cleaning doesn’t fix it, you have an alignment or wiring problem.
- Every hinge, pin, and bearing point. Get within six inches. The goal is a photo that shows rust, wear, or paint condition, not a photo of the general hinge area.
- Every weld joint and the hinge side frame post. Weld cracks start small and grow. A photo you can zoom into shows things your eye won’t catch at waist height.
- The operator housing with the cover off. Photograph the board, the wiring, the limit-switch position, and any labels. When something fails later, having the “before” state documents what changed.
- The low-voltage wiring path from the operator to the gate’s edge or photo-eye. Long Beach sprinklers and landscape lighting run through the same areas. A photo shows what was buried where.
- The close gap. Tape measure in frame, gate fully closed, showing the distance between gate and latch post. Re-shoot it every maintenance cycle. Gap drift over time is one of the clearest indicators of hinge wear and post movement.
In Long Beach, we regularly see hinge pins on ocean-adjacent properties like the Peninsula wear past the 2mm mark within three to four years of installation. The same hardware ten miles inland lasts eight to ten. The difference is salt aerosol loading, not manufacturing quality. Brands don’t matter here: we service gate hardware from every major manufacturer, and the coastal conversion rate from “slightly loose” to “needs replacement” is uniformly faster.
If you’re already at the point of replacing hinges or welding a crack at a corner post, that work lives under our gate installation and structural repair service. Catching play at 1mm is the difference between spending a few hundred dollars on pins and bushings versus a full frame rework.
Operator Torque and Limit-Switch Position: The Two Skipped Items
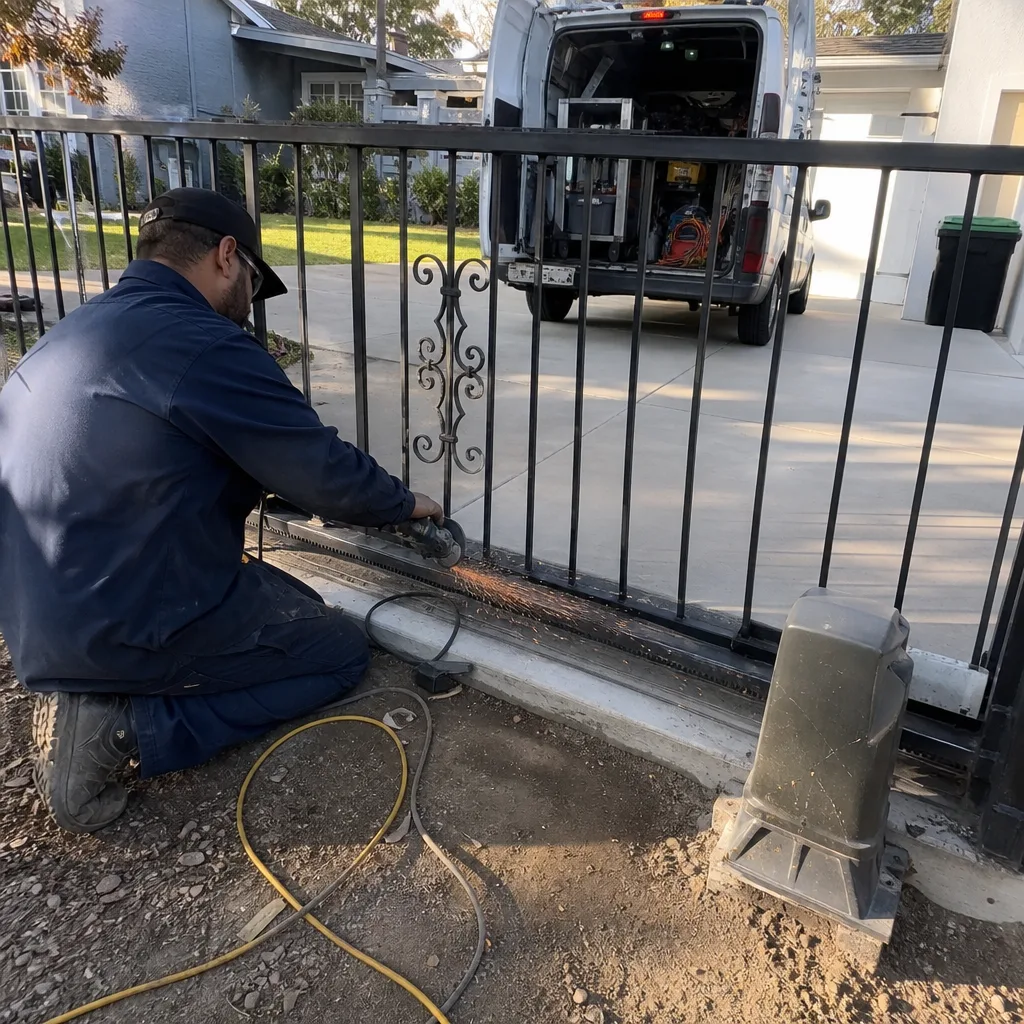
If there’s one pattern we see across Long Beach service calls, it’s this: the operator was adjusted when it was installed, then never touched again. Limit switches drift. Torque requirements change as the gate wears. And the two adjustments that should be part of every maintenance visit are the ones homeowners skip because they’re inside the motor housing.
Limit-switch position
The limit switch tells the operator where the gate should stop. In Long Beach’s environment, minor frame shifts from soil movement, thermal expansion on hot days, and ordinary wear all feed into limit drift. A limit switch set 12 degrees past travel means the operator keeps pushing after the gate already reached its mechanical stop. The motor over-amps, the drive belt or chain stretches, and the thermal overload starts tripping on hot afternoons.
Signs your limit position has drifted:
Adjusting limits requires opening the operator housing and working with line voltage or battery power. You can check and record the position yourself with the manufacturer’s reference marks, but this is the maintenance item where we draw the line: force settings and limit adjustments are in our “call a professional” column. For context on why this matters, see Gate Repair Permits, Codes & Inspections in CA: What You Need to Know. Getting a torque setting wrong changes the safety behavior of the gate, and that’s not a place to experiment.
Torque / force setting
The operator’s force setting controls how much resistance the motor will push against before it reverses. Set too high, and the gate becomes a pinch hazard and a hinge destroyer. Set too low, and the gate stops mid-cycle when the wind picks up, which happens often in areas like Los Altos and Plaza where wind funnels through the streets.
Every operator manual lists a torque specification, usually a range of newtons or a numbered dial reference. What Long Beach homeowners need to know is this: the correct torque setting changes as the gate wears. A gate that ran on setting 3 when it was installed may need setting 4 after two years of hinge wear, or it may need setting 2 after you finally replace the worn pins. The torque spec in the manual is a starting point, not a permanent truth.
We service nine automation brands including BFT, Linear, Viking, and Ghost Controls, and the manuals for each specify different measurement methods. If you’re holding a manual that references torque in newton-meters and can’t find the spec, don’t guess. A wrong force setting is the kind of mistake that shows up later as a gate hitting a car, a child, or a dog because it didn’t reverse when it should have.
Battery and Power Checks: Coastal Load Testing
Battery-backed operators are common in Long Beach, and the marine environment shortens battery life in ways the manufacturer’s expected-lifespan tables don’t predict. A battery that’s rated for three to five years inland may show meaningful capacity loss after two near the coast. The issue isn’t just the salt; it’s the daily temperature swings and the humidity that promotes terminal corrosion.
What to check on battery systems:
For AC-powered operators without battery backup, the check is simpler: pull the cover and look for moisture ingress, corrosion at wire nuts, and heat discoloration on the transformer. If you see rust or condensation inside the housing, the enclosure seal has failed and needs attention before the board corrodes.
One Long Beach-specific note: homes in flood-designated areas sometimes have gate operators mounted on pedestal bases above grade. If water ever pools at the base during a heavy storm cycle, check the operator’s low-voltage wiring terminus that same week. Saltwater intrusion into low-voltage connections starts a slow corrosion process that fails intermittently for months before dying permanently.
Sensor Alignment and Photo-Eye Testing
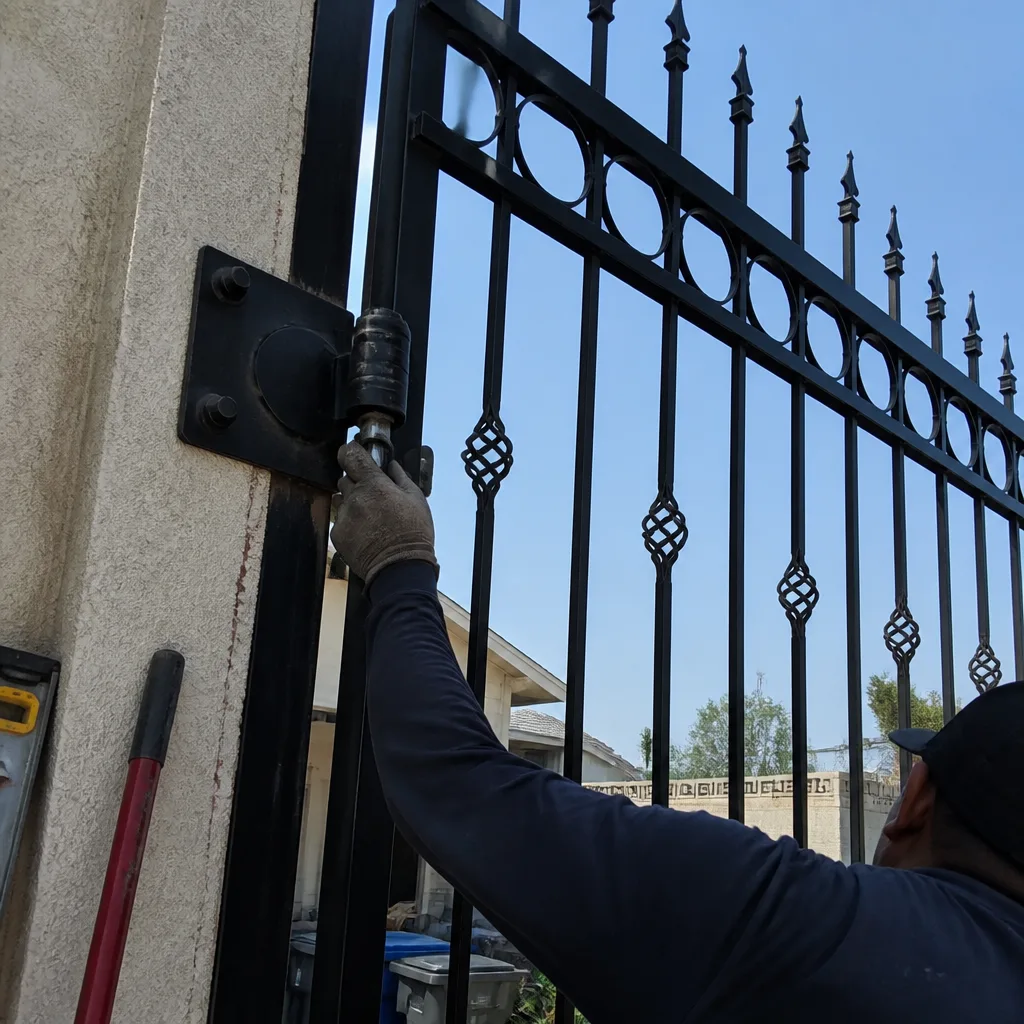
Photo-eyes and safety edges are the two mechanisms that stop a gate before it hits something. On coastal properties, sensor alignment drifts more often than most people expect, not because the brackets move, but because the gate itself shifts as hardware wears. When the gate’s closed position moves half an inch, the photo-eye beam that was perfectly aligned at installation now clips the edge of the receiver lens.
A photo-eye, for anyone new to gate terminology, is the infrared beam that crosses the gate’s path. If something breaks the beam, the gate stops or reverses.
Monthly check, two minutes:
Safety edges work on contact: a pressure-sensitive strip along the gate’s leading edge reverses the gate when pressed. Test by closing the gate and pressing firmly on the edge strip while it’s in motion. If the gate doesn’t reverse, the edge is either failed or disconnected from the control board.
The reason this matters beyond safety: a gate that doesn’t reverse properly runs longer cycles and works harder. An operator that closes against resistance trips its thermal cutout sooner. Sensor problems show up as motor failures if left long enough.
Building a Photo Baseline: What a Useful Record Looks Like
Most homeowners have photos of their gate mixed into their phone camera roll, taken from ten feet away, showing the whole gate. Those photos are nearly useless for maintenance. What a technician needs is close-range documentation of specific components, with enough context to find that spot again.
Here’s how to shoot a baseline set that will still be useful three years from now:
Store these photos in a dedicated album, not scattered through your camera roll. Name the album with the gate’s installation month or your property address. Then when you call any gate company, you can hand them a photo of the exact component that’s acting up, instead of describing a noise over the phone.
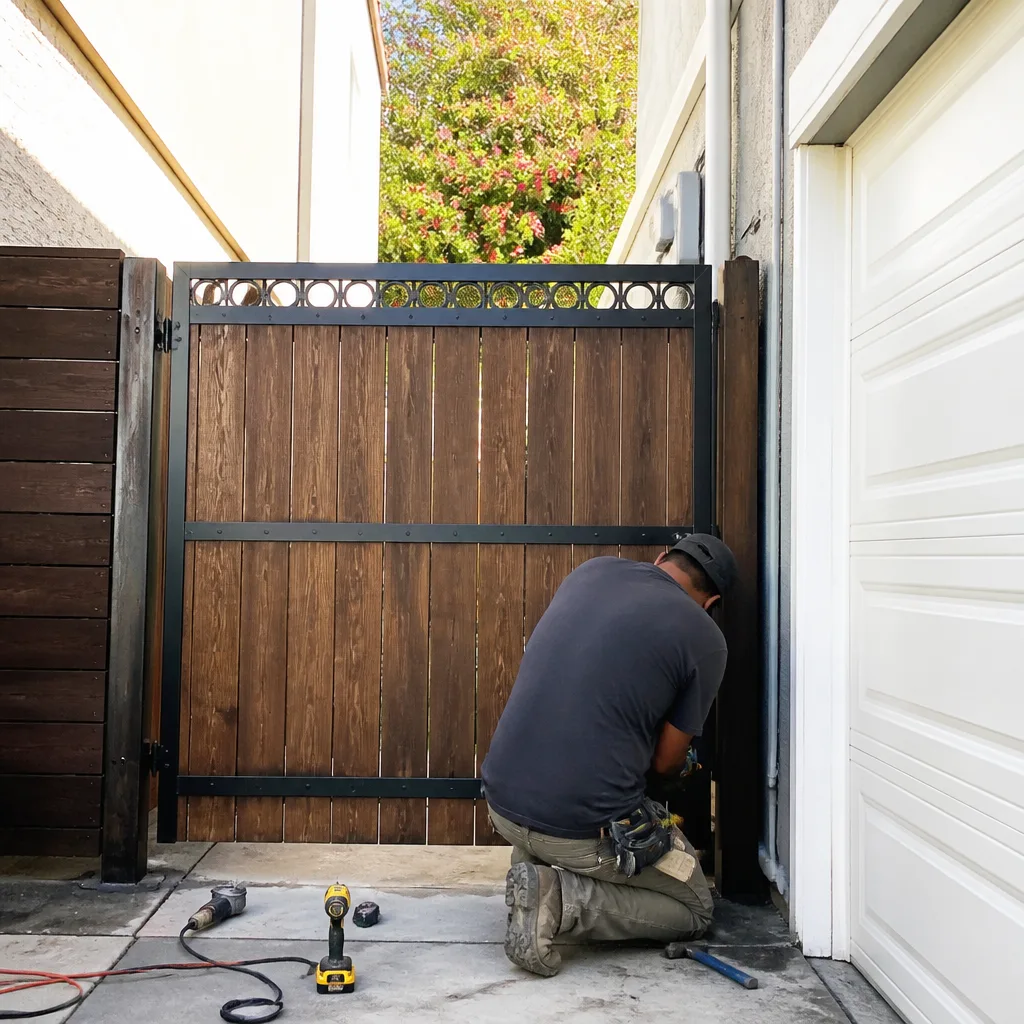
We treat this habit as standard practice on every service visit in Long Beach: every job ends with a documented photo record, the same kind of evidence, before and after, that we’ve been keeping since our founder started documenting commercial access-control work in 2014. It’s not a premium add-on. It’s the baseline that makes future repairs faster and cheaper, because the next technician doesn’t spend an hour rediscovering what a previous company already learned.
The Seasonal Long Beach Maintenance Schedule
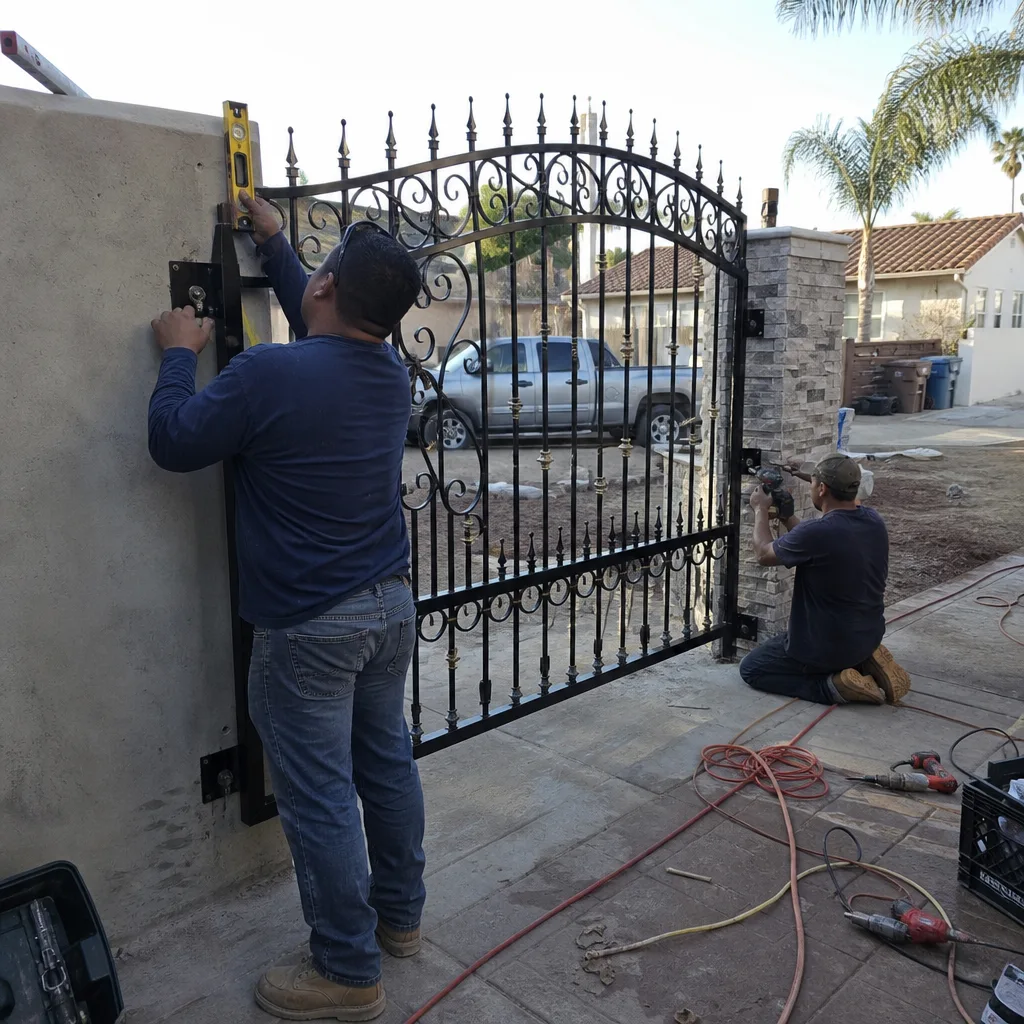
Long Beach doesn’t have winter in the way most of the country does. What we have is a marine layer season, a Santa Ana season, and periodic heat spikes. Maintenance timing should map to those patterns, not to calendar seasons.
March – April (end of winter rain): Inspect for standing water near the operator base, check terminal corrosion after months of elevated humidity, and re-verify ground wire continuity after the soil has been saturated. This is when ground rods and buried conduit see the most aggressive corrosion activity.
June – August (marine layer season): Salt aerosol loading peaks in the morning overcast. Run the full hinge and weld-point corrosion check monthly during these months for ocean-adjacent properties. Wipe down exposed metal with a dry cloth when you notice condensation.
September – October (Santa Ana season): Dry winds and elevated temperatures cause thermal expansion. Gates that run smoothly at 70 degrees can bind at 95. Test the full open-close cycle during the hottest part of a Santa Ana day. Listen for laboring and watch for a gate that reverses mid-cycle from increased resistance.
November – February: Shorter days mean more gate cycles in darkness. Verify every light, photo-eye LED indicator, and safety edge works when you can’t see clearly. If your gate has a solar panel, clean it before the wet season and check the charge controller readings.
The shorthand version for a fridge magnet: touch the hinges monthly, measure the close gap quarterly, load-test the battery twice a year, and re-shoot the baseline photos annually. That’s the minimum schedule that catches salt-air failures in Long Beach while they’re still cheap.
Common Mistakes to Avoid
- Skipping the manual release test. If you’ve never released the operator and opened the gate by hand, you don’t know how much mechanical resistance you have. The motor is masking hinge wear. If the gate is hard to move by hand, the operator has been pushing against that resistance every cycle, and its lifespan is quietly draining.
- Lubricating without cleaning first. Hitting rusty hinges with WD-40 or silicone spray without removing the rust and old grease first just makes a wet paste that attracts salt. Clean with a dry brush and a cloth, then lubricate sparingly with a marine-grade grease, not a thin spray.
- Using the wrong lubricant on polymer components. Some gates use nylon bushings or polymer bearing surfaces. Petroleum-based lubricants degrade some plastics. Check your gate’s manual. Nylon bushings often run dry by design.
- Painting over rust without preparation. A quick spray over a rusting weld point looks better for about six months, then the paint flakes and exposes a now-deeper corrosion pocket. Sand or wire-brush first, treat with a rust converter, then prime and paint. On load-bearing joints, that prep work needs to happen sooner rather than later.
- Adjusting the force or limit settings without writing down the original position. Every adjustment should start with a photo of the existing setting. If the gate behaves worse after your adjustment, you need a way back. This is exactly the kind of record that prevents a $40 adjustment from becoming a $400 repair.
- Waiting until the gate fails to call. When a homeowner tells us the gate “just stopped working,” the story usually starts weeks or months earlier, with a noise, a hesitation, a slowing cycle. Those are the cheap cues. The failure is just the final symptom.
- Forgetting the ground wire. Intermittent operator faults that come and go with moisture are frequently a failed or corroded ground connection. It’s the last thing most people check and the first thing we test on intermittent fault calls.
When to Call a Professional
If you find more than 2mm of hinge play, a limit switch that’s drifted, corrased battery terminals that need replacement, or a photo-eye that won’t hold alignment after cleaning, that’s professional territory. These are the tasks where the cost of guessing wrong exceeds the cost of a service call. The same applies to any work inside the operator housing involving force settings or line voltage. Getting a torque value wrong changes how the gate behaves when someone’s in its path, and that’s not a risk worth taking on a residential driveway in Long Beach. Vance Gate Repair Long Beach offers free estimates on maintenance and repair work, and every visit includes a written price before anyone picks up a tool, plus a photo record of what was found and what was set. Call (424) 788-1027 and we’ll tell you what we see and what it costs.
Frequently Asked Questions
Every three months for properties within two miles of the Pacific, every six months for properties further inland. The coastal schedule matters because salt aerosol from the marine layer accelerates corrosion on hinges, bolts, and electrical connections measurably faster. The minimum routine is a monthly visual walk-around, quarterly hinge and gap measurements, and twice-yearly battery load tests.
A basic maintenance visit in Long Beach typically runs $95 to $225 depending on the operator type and the number of hinges and panels involved. Repairs found during maintenance, like hinge pin replacement or limit-switch adjustment, usually add $40 to $400 depending on the part and access. Every visit with Vance Gate Repair includes the written price before work starts, so you know the full cost before we touch the gate. Call (424) 788-1027 for a free estimate.
Hinge and bearing wear, followed closely by limit-switch drift. Coastal properties see hinge pins corrode and loosen faster than inland properties, which increases the load on the operator, which accelerates motor wear and shortens the operator’s life. The sequence is predictable: hinge play leads to gate sag, which leads to operator strain, which leads to failure. For help spotting these issues early, read Gate Repair Warning Signs: A Long Beach Homeowner’s Reference Guide.
Yes for the inspection and documentation tasks: the monthly walk-around, hinge play measurement, close gap photography, and photo-eye testing are all homeowner-appropriate. No for anything that requires opening the operator housing, changing force settings, or adjusting limit switches. Those involve safety-critical settings and line voltage or high-current battery power, and a wrong setting changes how the gate responds when something is in its path.
Usually not. Grinding noise in a Long Beach gate most often traces to a failed or failing hinge bearing, a worn drive chain that’s never been tensioned, or debris in the track of a slide gate. The motor is usually the victim of the increased load, not the source of the noise. Release the operator and move the gate by hand, if you hear or feel the grind, the problem is mechanical and usually fixable without replacing the motor.
Three likely causes, in order of frequency: the force setting is too low for current conditions (common in Long Beach wind corridors when a Santa Ana pushes against the gate), the photo-eye is misaligned and the close cycle is being interrupted, or the limit switch has drifted so the operator thinks the gate has traveled further than it has. The first two are adjustments. The third is also an adjustment, but it requires the operator manual and the correct procedure. Call (424) 788-1027 and we’ll diagnose it, with the written price before any work begins.
Written by Adrian Vance, Owner at Vance Gate Repair Long Beach, serving Long Beach since 2014. Explore more guides & resources on gate maintenance and repair.