
Last updated September 20, 2026
Free on-site gate assessment - hinges, posts, and your LiftMaster or Nice gate operator checked before anything is quoted
The assessment is free and the quote is the invoice.

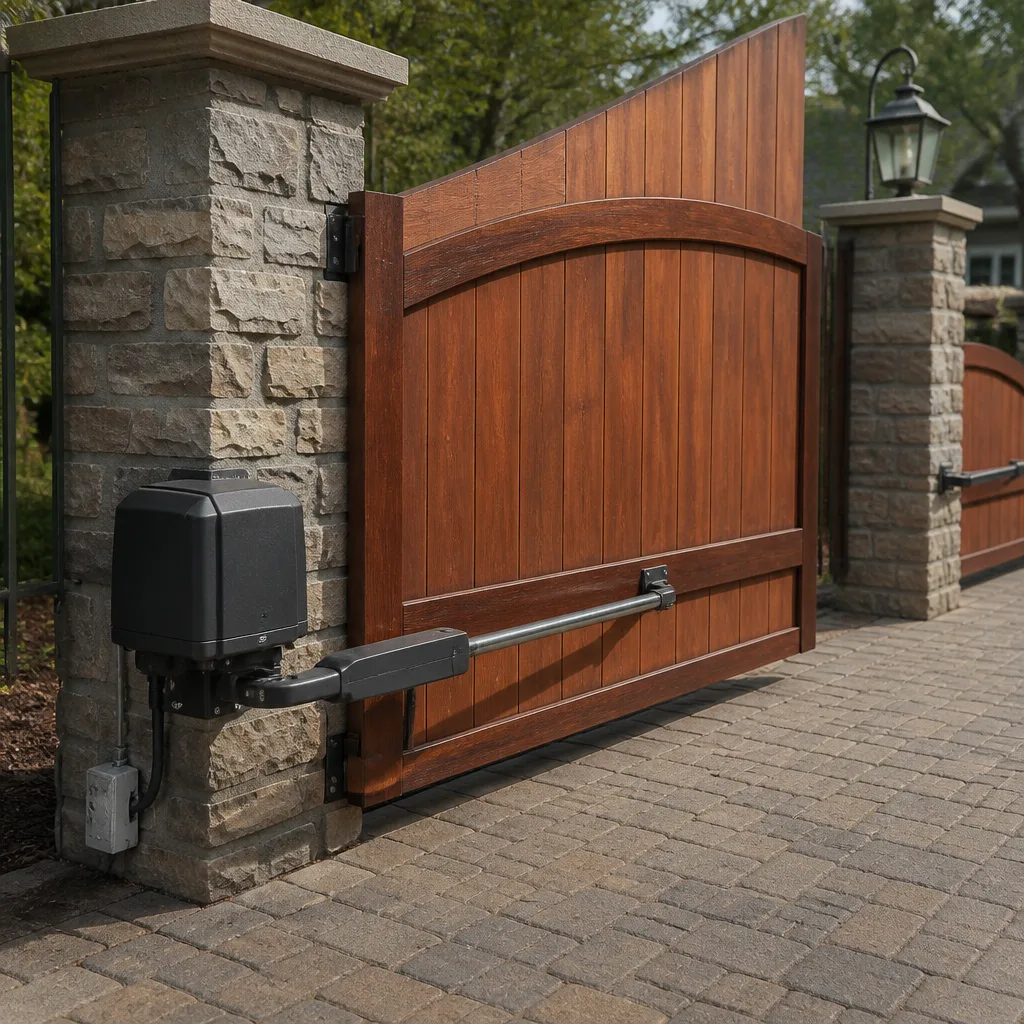
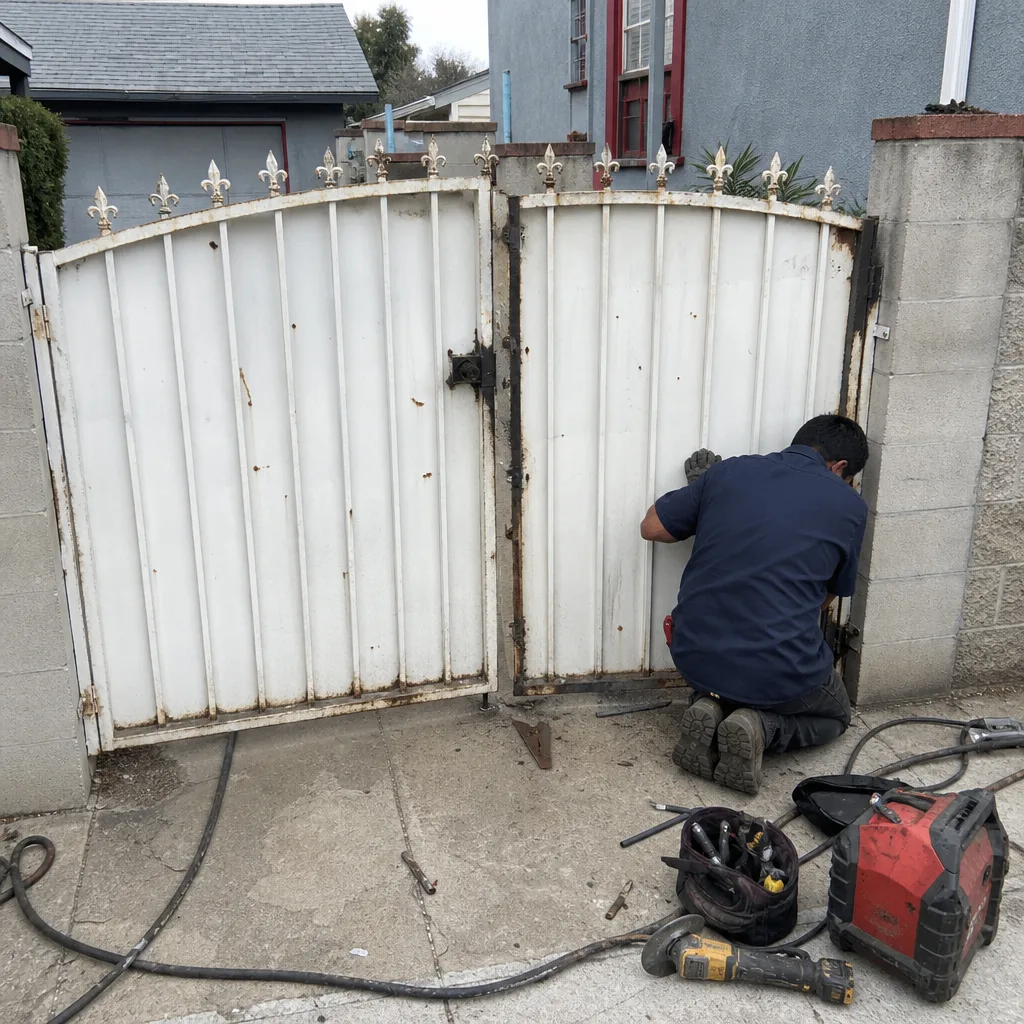 Before
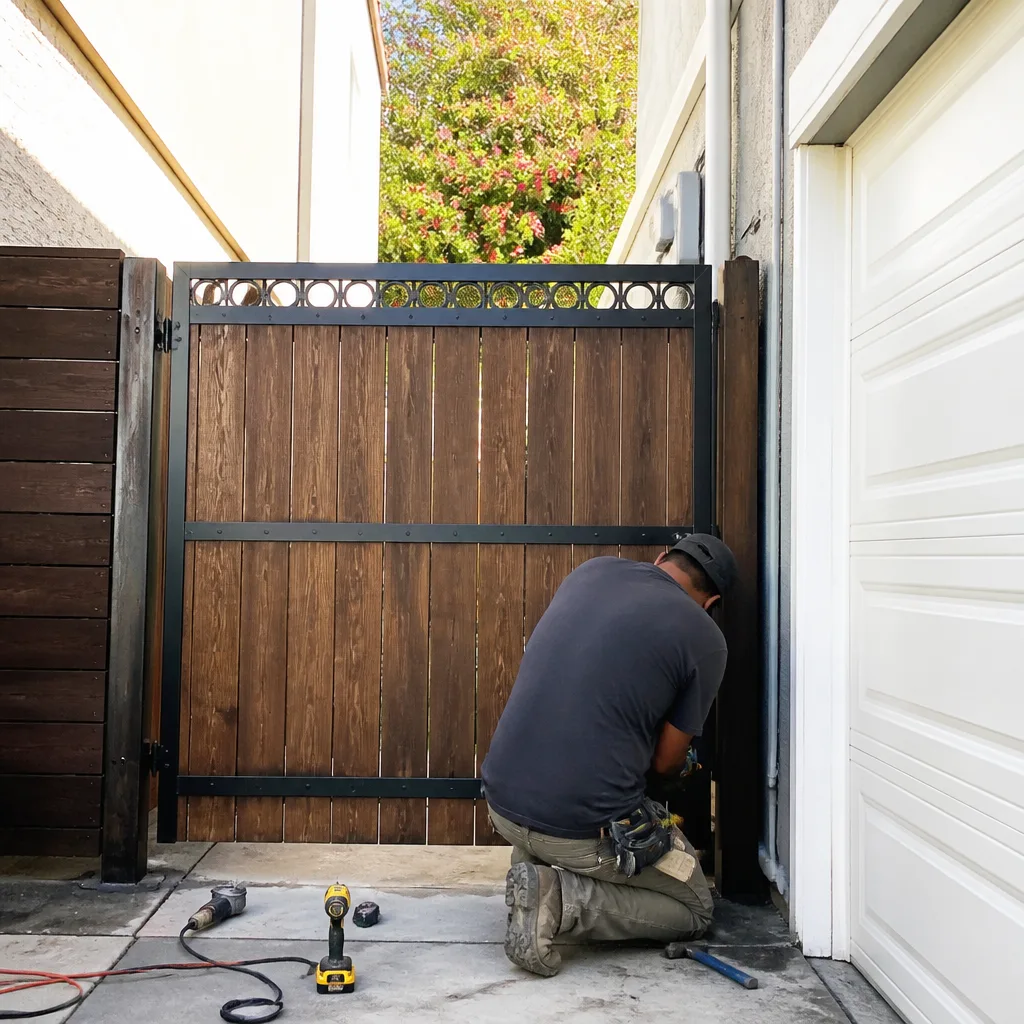 After
After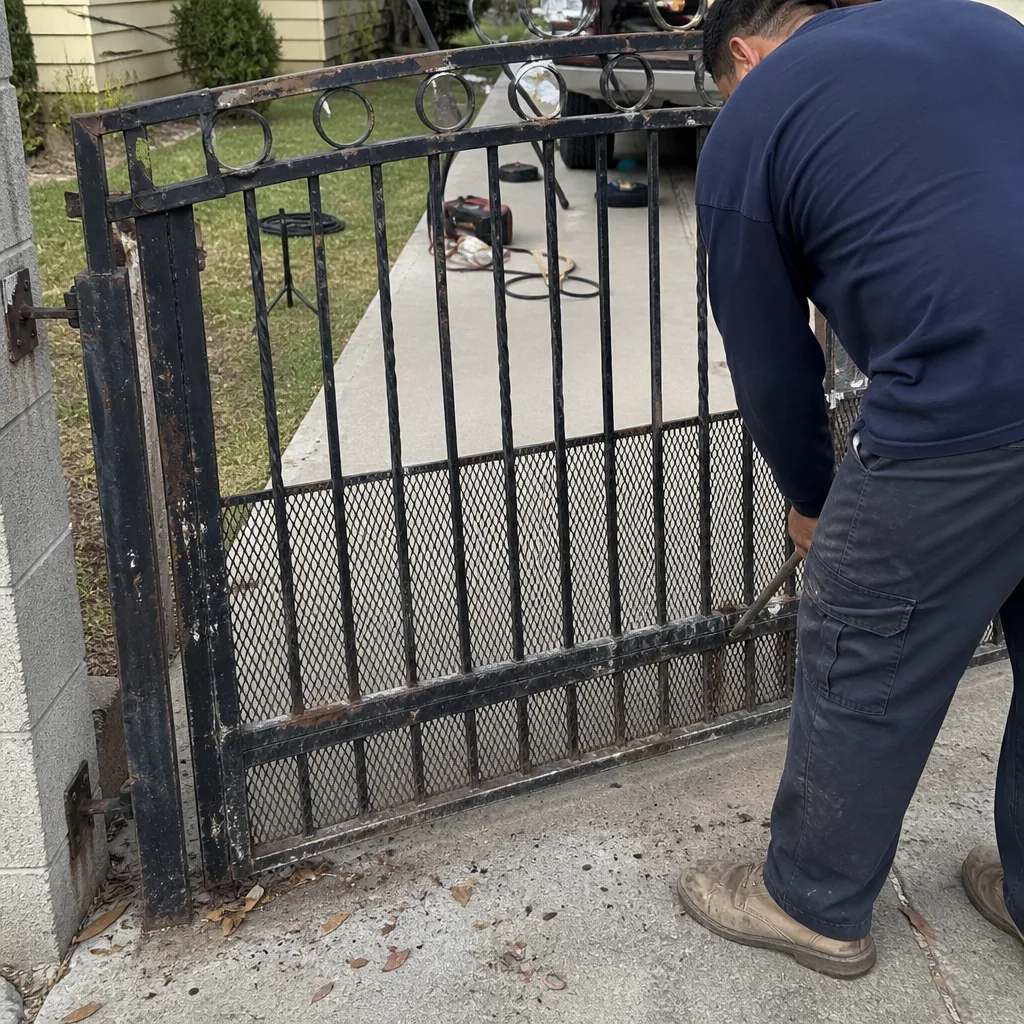 Before
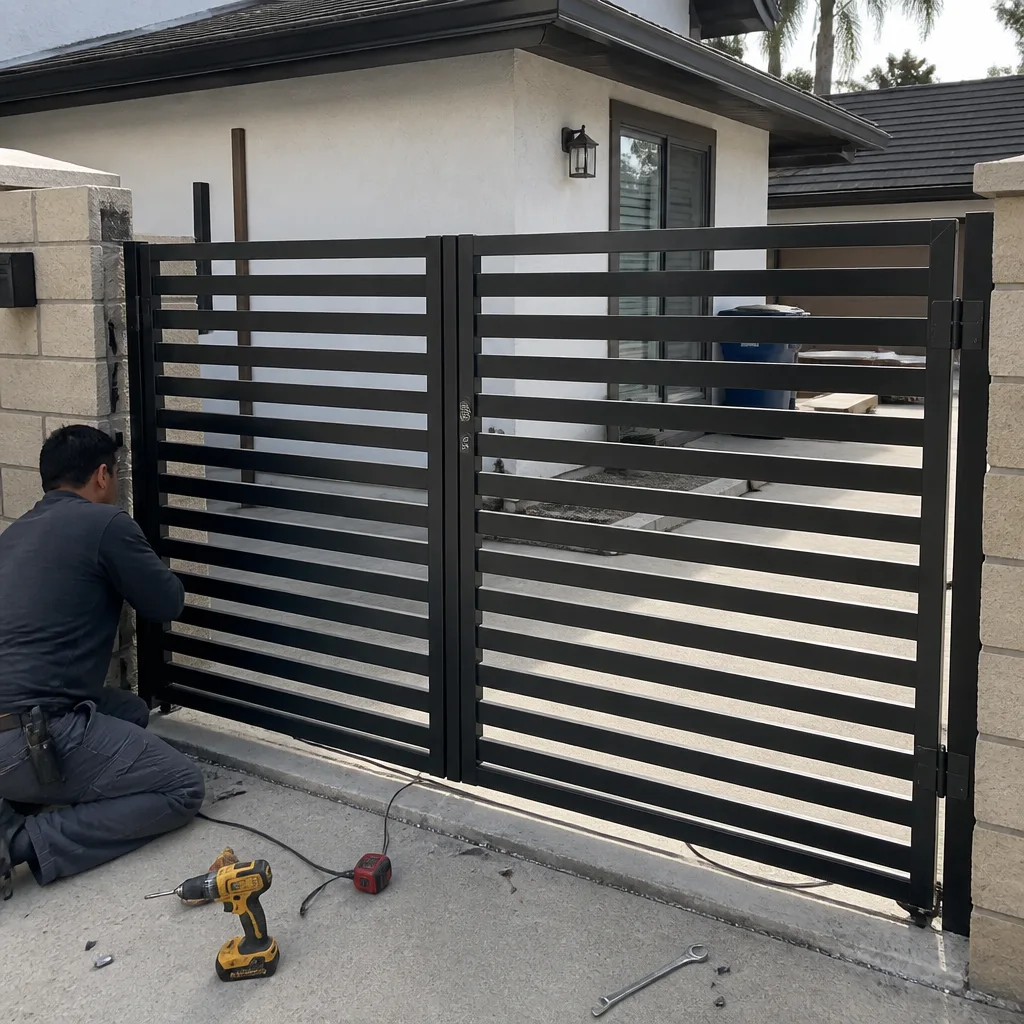 After
After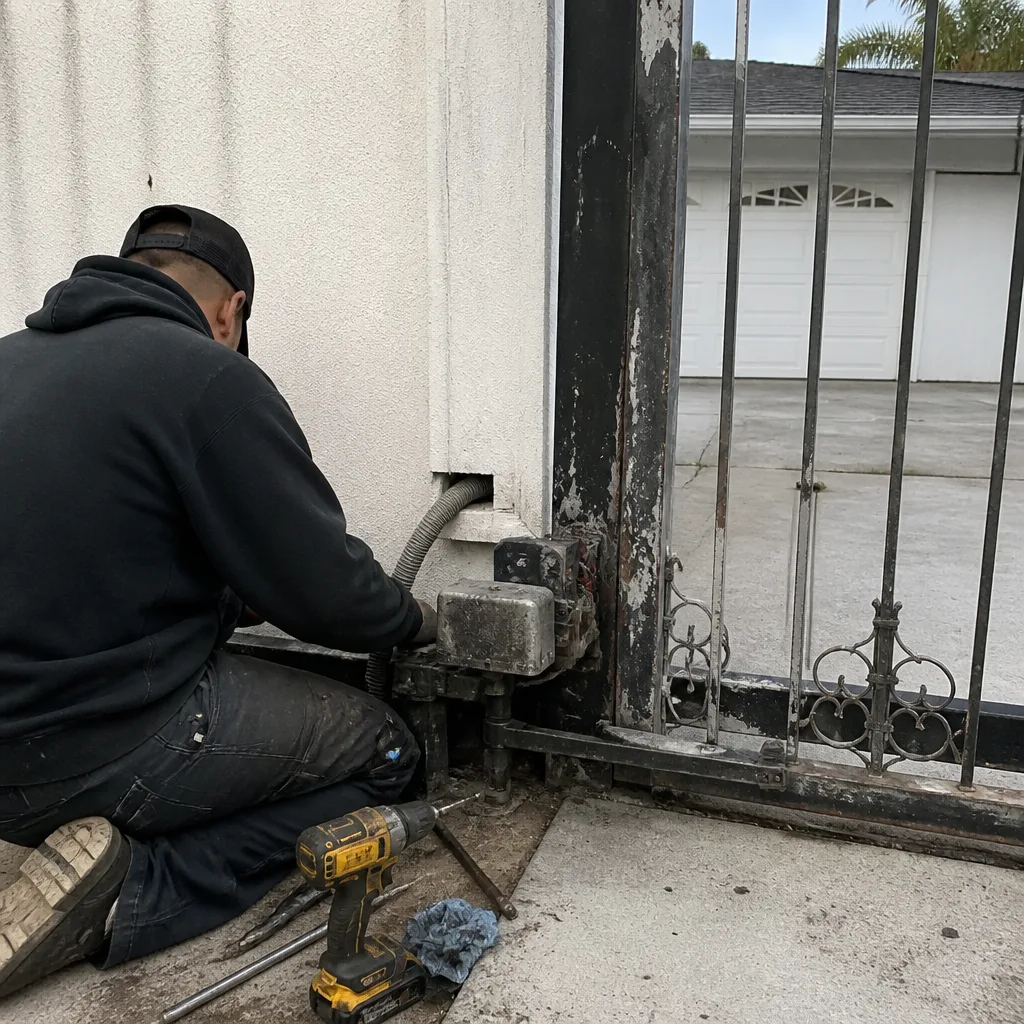 Before
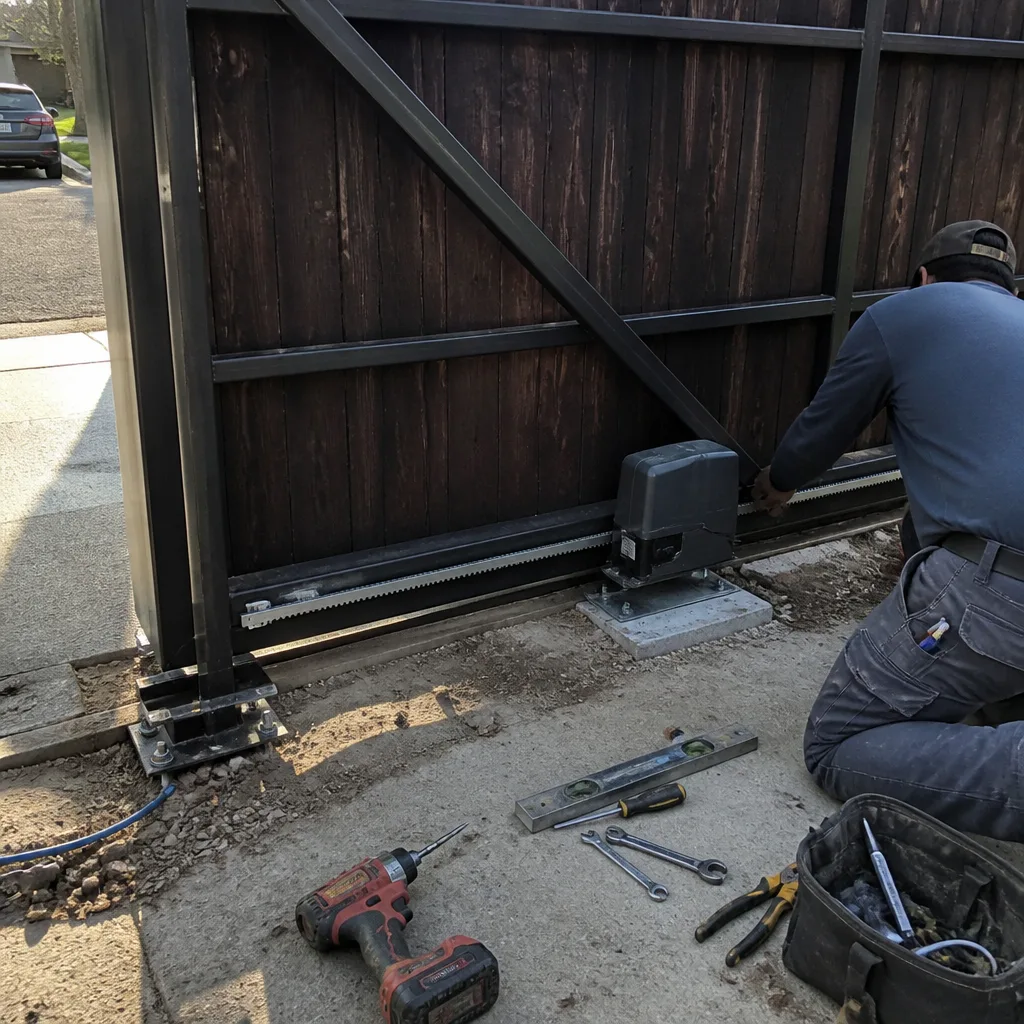 After
AfterDIY vs Professional Gate Repair: The Long Beach Homeowner’s Decision Guide
A Long Beach homeowner who resets their own limit switches from a YouTube video saved $150 in labor. A homeowner who repositioned their own photo eyes and later had an entrapment incident discovered that unpermitted modification to a UL 325 safety device voided their homeowner’s insurance claim. That second detail appears in zero DIY gate repair videos. This guide walks through which gate repairs make sense as weekend projects, which ones quietly transfer liability to your name, and how to hand off a half-finished repair without losing money on the handoff.
Quick Answer
DIY gate repair in Long Beach is reasonable for mechanical adjustments that don’t touch the operator’s electrical system or entrapment-protection sensors: tightening hinge bolts, lubricating tracks, replacing wheels that don’t carry wiring, and clearing rust from visible brackets. Professional repair is the correct call the moment the job involves limit switches, photo eyes, control boards, capacitor replacement, or any component listed under UL 325 entrapment protection, because California treats those as safety devices and modifying them without a documented licensed contractor creates traceable homeowner liability. Most homeowners save money on small mechanical jobs and lose money on electrical diagnosis, where the gap between the tools they own and the tools the job requires shows up as misdiagnosis and repeated trips to the parts store.
Table of Contents
- The Task-by-Task Decision Tree
- UL 325 and California Liability: What Actually Transfers to You
- The Documentation You Need Before and After Any DIY Repair
- The Tool Gap: What Diagnostics Actually Require
- What DIY Actually Costs in Long Beach: A Line-by-Line Look
- The Five Most Common Long Beach Gate Repairs, Sorted by Risk
- How to Hand Off a DIY-Started Repair Without Paying for Discovery Twice
- Insurance, Liability, and the Paper Trail That Protects You
BeforeAfterThe Task-by-Task Decision Tree
Here’s the list most guides won’t give you: a repair-by-repair assignment based on California code and liability exposure, not just mechanical difficulty. We’ve organized it into three categories. The Long Beach twist is that salt air accelerates corrosion on exposed hardware, so what looks like a simple rusted-bracket replacement in a dry climate often hides wiring degradation underneath here.
DIY-Safe Repairs (No Electrical Contact, No Entrapment Component)
- Hinge lubrication and tightening. Use a lithium-based grease on swing gates, not WD-40, which washes out in Long Beach’s marine layer. If the hinge pin is worn oval, replace the hinge itself, which is a bolt-off, bolt-on job.
- Track cleaning and wheel replacement on sliding gates where the wheels don’t carry a sensor wire. Inspect the track for salt pitting, common within two miles of the coast in Naples, Belmont Shore, and the Peninsula.
- Rust removal and repainting on non-moving surfaces. Wire brush, rust converter primer, and a marine-grade topcoat. This is purely cosmetic and entirely yours.
- Manual release function testing. Pull the release handle to confirm the gate operates manually. This is a maintenance task, not a repair, and it’s dead safe when the operator is unplugged.
DIY-Risky Repairs (Skill-Dependent, Liability-Tolerant)
- Replacing a wheel that carries a sensor wire. The mechanical part is easy. Reconnecting the wire to the right terminal is where most homeowners either short the board or accidentally bypass an entrapment sensor. If you can photograph the original wiring before touching it and label each wire with masking tape, this drops to DIY-safe.
- Adjusting gate alignment on a dual-leaf swing gate. Small corrections are fine. Major realignment that requires moving the motor mount changes the travel geometry, which then changes the limit-switch settings, which is the electrical system telling the operator it’s safe to stop. The mechanical half is yours; the electrical half isn’t.
- Replacing physical gate hardware like latch posts and drop bars. These are bolt-on. The risk is only if the new hardware slightly changes the gate’s resting position, which can throw off photo-eye alignment at the closed travel point.
Professional-Required Repairs (UL 325 Entrapment Components or Board-Level Electrical)
- Photo-eye (photoelectric sensor) alignment, replacement, or wiring. This is the component from the opening hook. California treats UL 325 photo eyes as entrapment-protection devices. A homeowner who repositions one and later has an incident has modified a safety device without documentation, and that modification is traceable through the operator’s event log on newer DoorKing and LiftMaster units.
- Limit-switch setting and resetting. The limit switch tells the operator where the gate physically stops. Setting it wrong means the gate over-travels into the post or stops short, both of which create entrapment or collision points. On Mighty Mule and Ghost Controls operators, the limit switch setting is stored in non-volatile memory, and a mis-set value persists after a power cycle.
- Capacitor replacement. A swollen or leaking start capacitor on Elite or FAAC operators holds a stored charge even when the operator is unplugged. This is the most common source of DIY electrical injury on gate motors, and it’s avoidable by not opening the capacitor housing without discharging it first.
- Control board diagnosis and replacement. Board-level work requires a multimeter reading across specific terminals, and guessing here is how a $40 relay replacement becomes a $400 board replacement.
- Any repair involving the operator’s safety loop detectors. These are induction loops buried in the driveway that prevent the gate from closing on a car. Bypassing one “temporarily” is how entrapment incidents happen.
If you’re ever unsure, the safe path is to call a professional before you touch it. For more on what full repair service includes, see our Gate Repair in Long Beach page.
UL 325 and California Liability: What Actually Transfers to You
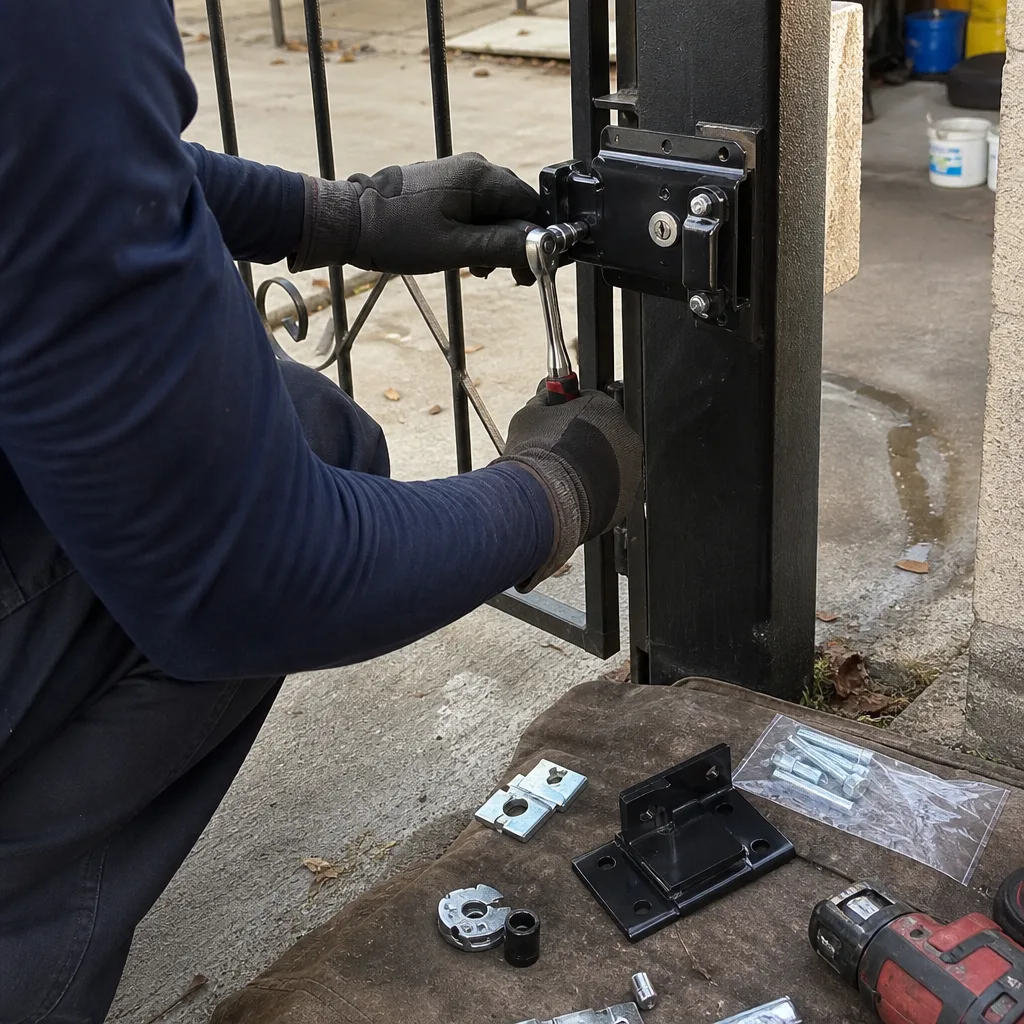
UL 325 is the national safety standard for automatic gate operators. It mandates specific entrapment-protection components: photo eyes, contact edges (the rubber strip that reverses the gate on contact), and the operator’s built-in obstruction detection. The standard applies everywhere, but California’s Civil Code and the way homeowner’s insurance policies in this state handle unpermitted modification is what makes the Long Beach stakes higher than they look on a forum thread.
Here’s the chain of events that creates homeowner liability:
- A homeowner modifies an entrapment-protection component without a contractor’s sign-off or permit record. This includes moving a photo eye, adjusting a contact edge sensor, or changing limit-switch parameters that affect obstruction response.
- An incident occurs. A child, a pet, a delivery driver, a vehicle. The gate reverses too slowly or not at all.
- The insurance adjuster requests service records. If no professional has touched the operator, the adjuster looks for who last modified the safety devices. On operators with event logs (DoorKing and LiftMaster both log parameter changes), that modification is dated, timestamped, and attributable.
- The claim is denied or reduced. Unpermitted modification of a UL 325 entrapment-protection device is treated by most California insurers as an exclusion trigger, which means the homeowner’s liability coverage doesn’t respond, and the homeowner is personally exposed.
This isn’t fearmongering; it’s the same logic that applies to electrical panels and gas lines. Some things are fine to touch. Some things are fine to touch only if you document the change and can prove the result met code. And some things transfer liability the moment you turn the screwdriver.
The good news: a professional repair that includes written documentation of what was found, what was changed, and what the post-repair readings were moves that liability to the contractor’s insurance and license. That’s the entire point of hiring a licensed contractor for this class of work. The paper trail isn’t bureaucratic overhead; it’s the evidence that protects you if the same component fails later.
The Documentation You Need Before and After Any DIY Repair
If you’re going to do a DIY-safe repair, the single highest-value thing you can do is create a before-and-after record that would hold up in a dispute. Here’s what that looks like, step by step:
- Photograph the component before touching it. Wide shot for context, close shot for the specific bolt, wire, or bracket. On a phone, the timestamp metadata is automatically embedded.
- Photograph the operator’s current parameter settings if the operator has a display. Many DoorKing and LiftMaster units show limit-switch positions and force settings. If you’re not changing them, the photo proves you didn’t.
- Write down what you’re about to do, in one sentence, before you do it. “Tightening the two hinge bolts on the right gate leaf.” If a later contractor claims your work caused a problem, that sentence is the scope of your intervention.
- Photograph the component after the work, same two angles. This shows exactly what changed and what didn’t.
- Run the gate through a full open-close cycle and photograph the final position. This proves the gate was operating normally when you finished.
- Store all of this in a folder labeled with the date. If the gate fails three months later and a contractor blames your hinge adjustment, you have a dated, timestamped record showing the gate cycling normally after your work.
This is the same documentation habit that professional gate contractors use, which is why we leave a photographed record of every visit. Under Vance Gate Repair Long Beach home service standard, every visit includes a photo log: what was found, what was adjusted, and what was replaced. It’s the same behavior a careful homeowner can adopt, and it costs nothing but discipline.
The Tool Gap: What Diagnostics Actually Require
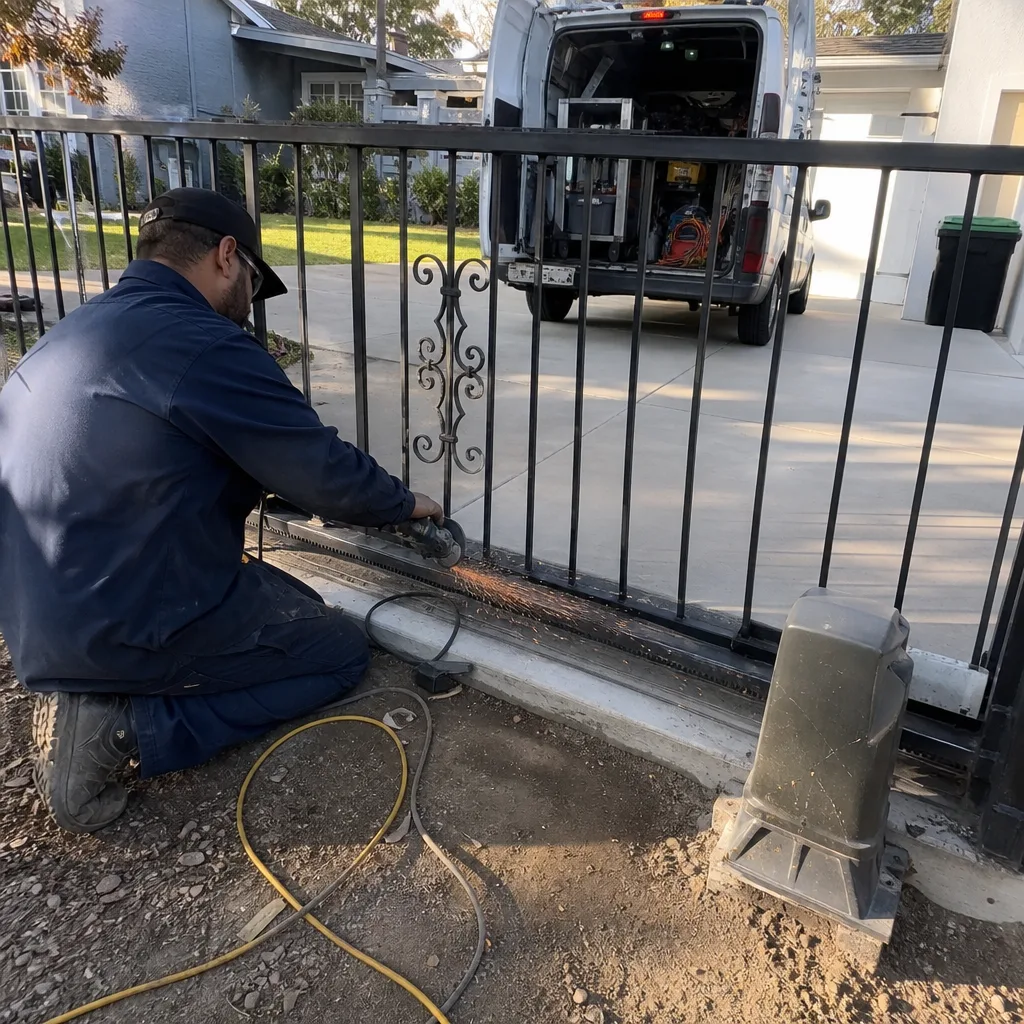
Most DIY gate repair fails at the diagnostic stage, not the execution stage. The reason is simple: the tools required to accurately diagnose an electrical gate problem are different from the tools most homeowners own. Here’s the honest breakdown of what the job actually needs versus what’s in a standard Long Beach garage:
What Diagnostic Work Actually Requires
- A multimeter (true RMS, $40-$120). To test continuity across a photo-eye circuit, you need to read resistance in ohms across the relay contacts. Guessing that the photo eye is “probably fine” is how misalignment goes undiagnosed and entrapment protection stays offline.
- A limit-switch setting tool or the operator’s onboard diagnostic display. Not every operator has a display. On a basic Mighty Mule or Ghost Controls unit, setting limits requires following the manual’s sequence and counting LED blinks. The manual is free online. The patience is not.
- A torque wrench. For hinge bolts and motor-mount bolts, over-tightening strips threaded inserts, and under-tightening creates play. The correct torque spec is in the installation manual, which means this is learnable.
- A capacitor discharge tool or a full understanding of how to safely discharge one. If you don’t know what a start capacitor does or how to confirm it’s discharged, the repair is not DIY-safe. This is the one tool gap that’s also a safety gap.
What Most Homeowners Own
A socket set, a crescent wrench, a cordless drill, and a level. Those four tools handle every DIY-safe repair on the list above. They do not handle electrical diagnosis, and the gap between the two lists is where misdiagnosis lives, which is where repeated parts-store trips and “I replaced the sensor and it still doesn’t work” forum posts come from.
If a repair requires you to buy a multimeter and learn to read resistance values, you’re no longer saving $150 in labor; you’re spending an afternoon learning a skill you’ll use once and then paying for the part you guessed wrong on. For most homeowners who need a motor or opener repair, the math trends toward professional service quickly. See our Gate Motor & Opener in Long Beach page for what that service includes.
What DIY Actually Costs in Long Beach: A Line-by-Line Look
The advertised cost of DIY gate repair is usually just the part price. The real cost includes the tools you don’t own, the time spent learning, and the cost of the first wrong guess. Here’s a realistic Long Beach comparison for the three most common repairs:
Hinge Replacement on a Swing Gate
| Cost Item | DIY | Professional |
|---|---|---|
| Parts (hinges, hardware) | $30-$60 | Included in quote |
| Tools | $0 (socket set already owned) | $0 |
| Labor time | 2-3 hours (first time) | 1-2 hours |
| Total realistic cost | $30-$60 + afternoon | $180-$280 |
| Verdict | DIY reasonable, if alignment is preserved | |
Photo-Eye Realignment or Replacement
| Cost Item | DIY | Professional |
|---|---|---|
| Parts (sensor, bracket) | $40-$90 | Included in quote |
| Tools (multimeter for continuity test) | $40-$120 if not owned | $0 |
| Liability exposure | Homeowner (unpermitted safety device modification) | Contractor’s license and insurance |
| Total realistic cost | $40-$210 + liability | $150-$300, documented |
| Verdict | Professional is the clear call, purely on liability | |
Operator Capacitor Replacement
| Cost Item | DIY | Professional |
|---|---|---|
| Parts (capacitor) | $15-$35 | Included in quote |
| Safety risk | Stored charge, shock hazard | Handled by trained technician |
| Wrong-guess cost | $15-$35 (if capacitor wasn’t the problem) | $0 (diagnosis included) |
| Total realistic cost | $15-$70 + shock risk | $160-$260 |
| Verdict | Professional, no debate | |
These ranges reflect Long Beach market rates as of the 2025-2026 season. The price you’re quoted will depend on the operator brand, the gate’s weight class, and whether the existing mounting hardware is reusable. The price is always written before work starts, which is the entire point of how we operate: no verbal estimates, no surprises at the end. For installation costs, see Gate Installation in Long Beach for a full breakdown.
The Five Most Common Long Beach Gate Repairs, Sorted by Risk
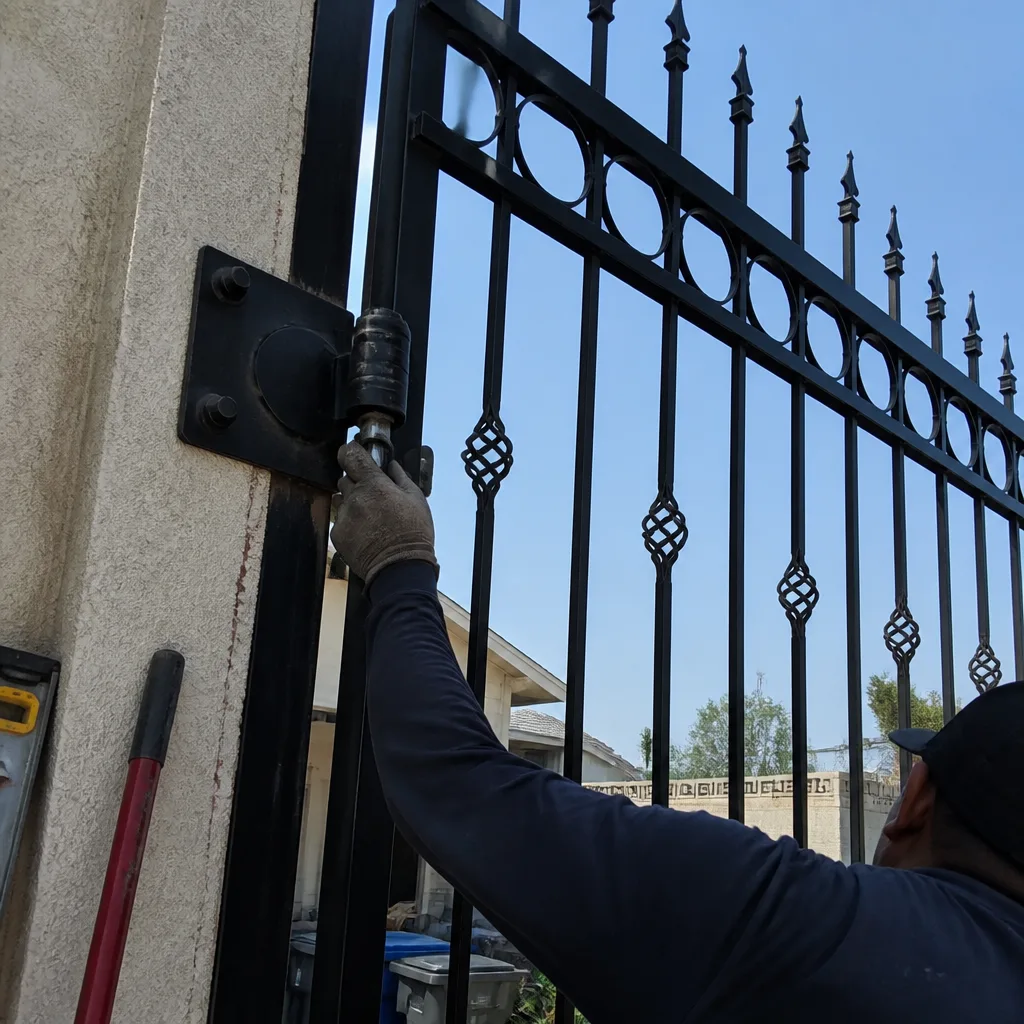
Here’s what we actually see in Long Beach, ranked from lowest to highest risk to the homeowner:
1. Salt-Corroded Track Hardware (DIY-Safe)
Within two miles of the coast, the marine layer deposits salt on exposed gate hardware every night. In Naples, Belmont Shore, and the Peninsula, sliding-gate wheels rust and seize within two to three years. Replacement is a bolt-off, bolt-on job using stainless or galvanized hardware. No electrical contact, no safety device, no liability. This is the clearest DIY win on the list.
2. Worn Hinge Pins on Wooden Driveway Gates (DIY-Safe, With a Caveat)
Long Beach has a high concentration of older homes with original wooden driveway gates in neighborhoods like Bixby Knolls and California Heights. Hinge pins wear oval, which drops the gate leaf and causes it to drag. The mechanical fix is straightforward. The caveat: if the gate has an automated opener, dropping the leaf changes the travel geometry, which changes limit-switch behavior. Fix the hinge first, then watch the gate through a full cycle. If it over-travels or stops short, the limit switch needs professional adjustment.
3. Misaligned Photo Eyes (Professional-Required)
This is the most common repair that homeowners attempt themselves and the most common one that goes wrong. The photo eye is the infrared beam that stops the gate if something crosses the path. On Long Beach properties with narrow driveway approaches, the photo eyes sit close to the gate’s travel path, which means they get bumped by landscaping equipment, trash bins, and delivery trucks. The beam is misaligned by roughly an inch, the gate won’t close without holding the override, and the homeowner’s first instinct is to “adjust it back.” That adjustment is a UL 325 entrapment-protection modification. If you bump yours out of alignment, do the responsible thing: unplug the operator, mark the original position with masking tape, and call a professional who can realign, test, and document the repair. The cost is small; the liability avoided is not.
4. Worn-Out Operator Gear Assemblies on Elite and DoorKing Units (Professional-Required)
Elite and DoorKing operators use internal gear assemblies that wear down after roughly eight to ten years of daily cycling. Symptoms are grinding, hesitation mid-travel, and a gate that stops partway. Replacing the gear assembly means opening the operator housing, discharging the capacitor, and resetting the limit switches after reassembly. This is board-and-gear work, not bolt work.
5. Water Intrusion in Underground Operator Vaults (Professional-Required, Long Beach Specific)
Long Beach has a high water table in some areas and aging drainage infrastructure in others. Underground operator vaults, common on estate properties in the Park Estates and Los Cerritos areas, accumulate standing water after heavy rain or irrigation runoff. The operator is sitting in water, which means the capacitor, control board, and limit switches are all compromised. This repair involves electrical diagnosis in a confined space with standing water present, which is two separate reasons it’s professional-required.
How to Hand Off a DIY-Started Repair Without Paying for Discovery Twice
The most expensive handoff in gate repair is the one where a homeowner has already replaced a part, disconnected wires, or adjusted a sensor, and the technician has to reverse-engineer what was changed before starting the actual repair. That discovery time is billed, and it’s avoidable. Here’s the handoff protocol:
- Tell the whole truth at the top of the call. “I replaced the right-side wheel and now the gate won’t close all the way.” The technician needs to know what changed, not what was originally wrong. Even if it’s embarrassing, it saves an hour of diagnostic backtracking.
- Have your documentation folder ready. Before-and-after photos, the one-sentence scope note, and any new part’s packaging or receipt. The part number matters. A packaged part confirms what was installed.
- Label any disconnected wires with masking tape before the technician arrives. If you disconnected a green wire from a terminal and don’t remember where it went, say so. An unlabeled disconnected wire costs more to diagnose than a labeled one, and a labeled one costs less than a lie.
- Don’t reassemble anything you took apart. A half-disassembled operator is easier to work on than one where the homeowner forced covers back on and stripped screws in the process. Leave it as-is, kill power at the breaker, and wait.
- Ask for the written record. When the technician finishes, you should receive a written description of what was found, what was adjusted, what was replaced, and the post-repair readings. If the company doesn’t offer one, ask. Under Clause 4 of the Vance Gate Repair Long Beach home standard, a documented photo record on every visit is standard, not an add-on.
The goal here is continuity: the technician picks up where you stopped, with no guessing and no re-discovery, which means the invoice reflects repair time, not archaeology time.
Insurance, Liability, and the Paper Trail That Protects You
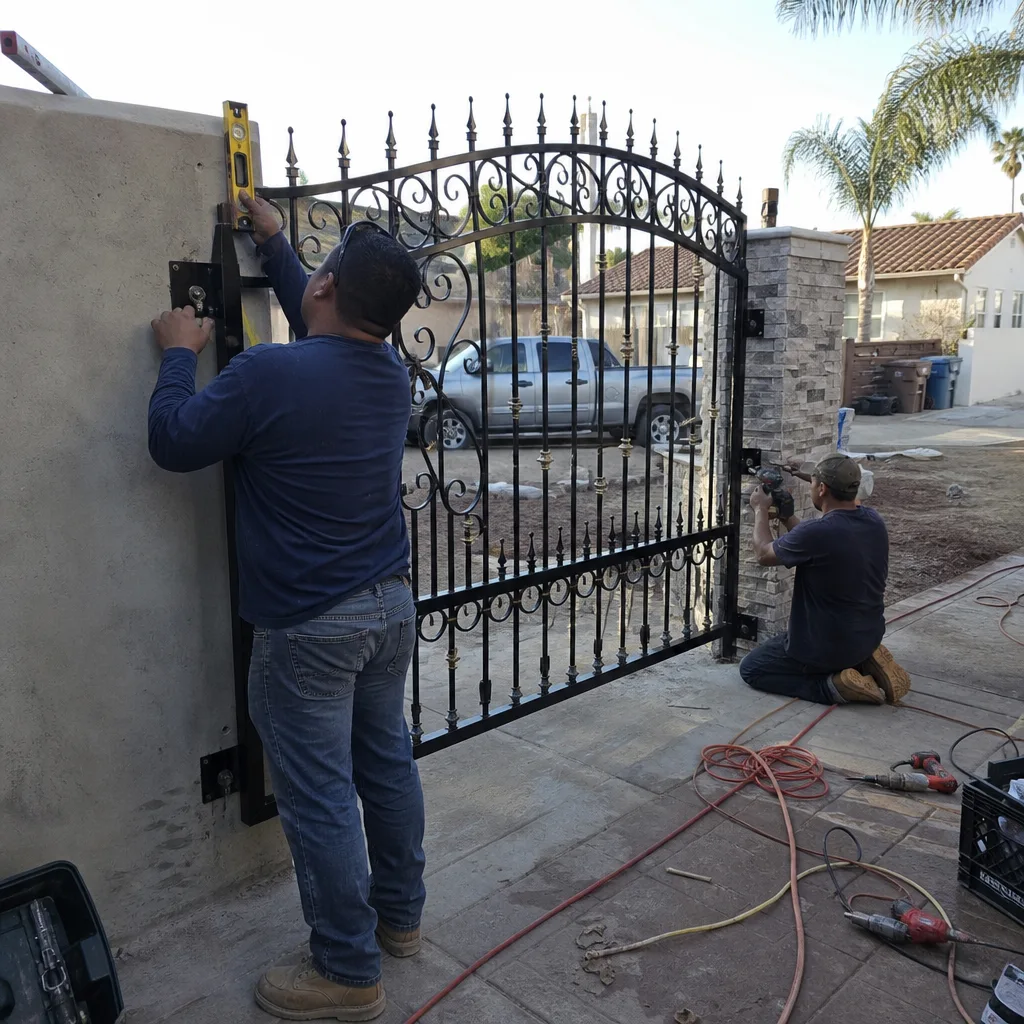
Let’s get specific about what your homeowner’s insurance does and doesn’t cover when a gate repair goes wrong, because the distinction is the difference between a covered claim and a personal payout.
If a licensed contractor performs a repair and the gate later causes property damage or injury due to a defect in that repair, the contractor’s general liability insurance is the first line of response. Your homeowner’s policy is secondary, and the claim doesn’t require you to prove whose fault it was; the contractor’s insurance handles it under their duty to defend.
If a homeowner performs a repair and the gate causes damage or injury, the claim lands on the homeowner’s policy as a first-party claim (for your own property damage) or a liability claim (for the injured party). The adjuster will ask who last modified the gate. If the answer is the homeowner, and the modification involved a UL 325 entrapment-protection component, most California policies treat it as an exclusion-triggering event. The claim is denied or reduced, and the homeowner is personally responsible for the difference.
This is not a hypothetical. It’s the pattern in entrapment and gate-failure claims across the state, and it’s why “just watch a YouTube video” is incomplete advice for anything that touches the operator’s safety system. The paper trail exists to assign responsibility clearly, and the homeowner who hires a documented professional is buying that assignment along with the repair.
If you’re not sure which category your repair falls into, the free move is to call and ask. We’ll tell you over the phone whether it’s DIY-safe, and if it isn’t, we’ll write the price before anyone picks up a tool. That’s the standard.
Common Mistakes to Avoid
- Resetting limit switches without documenting the original settings. The original setting is often the correct one, and once it’s lost, the technician has no reference point. If you’re going to touch limits, photograph the current values first.
- Using WD-40 on gate hardware. It’s a water displacer, not a lubricant. It washes out in Long Beach’s marine layer and leaves the hinge dry within a week. Use lithium-based grease or a marine-grade lubricant.
- Testing an operator while family members are near the gate’s travel path. Every entrapment incident starts with “I was just testing it.” Keep at least ten feet of clearance, and treat the gate as live equipment until power is confirmed off.
- Bypassing a photo eye or contact edge “just temporarily.” Temporary becomes permanent faster than you’d believe, and the operator’s event log will show the bypass was active at the time of any incident.
- Forcing a gate open or closed when the operator is engaged. This strips gears, overloads the motor, and creates problems that didn’t exist before the force was applied. Pull the release handle first.
- Buying the cheapest replacement part and assuming it’s interchangeable. A $22 aftermarket capacitor that isn’t the correct microfarad rating will destroy a control board, turning a $40 repair into a $500 one. Match the part number, not the price.
- Hiding a DIY attempt from the technician you eventually call. The technician will figure it out, and the discovery time gets billed. Honesty at the top of the call is the cheapest sentence you can say.
When to Call a Professional
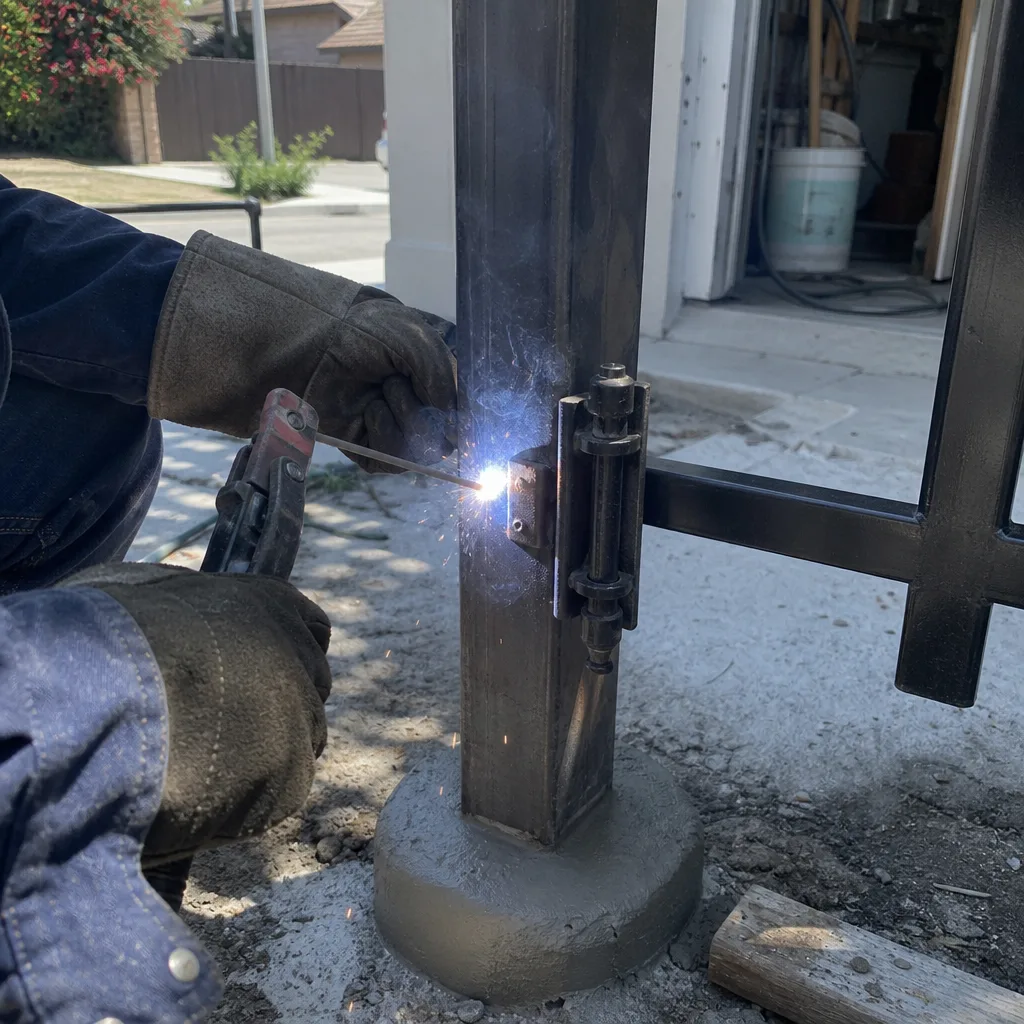
Call a professional the moment the repair involves the operator’s electrical system, any UL 325 entrapment-protection component, or a capacitor. Call a professional if the gate is making a new noise that you can’t associate with a visible mechanical cause, because new noises from the gear assembly mean internal wear that’s about to get more expensive. Call a professional if you’ve already attempted a repair and the gate still isn’t cycling correctly, because the second attempt is where the wrong diagnosis compounds. Vance Gate Repair Long Beach offers free estimates in Long Beach, the price is written before any work starts, and a live person answers at (424) 788-1027 at any hour.
Frequently Asked Questions
Yes, it is legal to repair your own gate opener in Long Beach for mechanical work that doesn’t involve electrical components or entrapment-protection devices. However, any modification to UL 325 safety components (photo eyes, contact edges, obstruction detection) without a licensed contractor’s documentation creates liability exposure under California insurance law. The legality isn’t the question; the liability is.
The most common DIY gate repair that goes wrong in Long Beach is photo-eye realignment, because the homeowner sees a simple bracket adjustment but doesn’t realize they’ve modified a UL 325 entrapment-protection device that has event-logging on newer operators. The fix looks easy on video, and the liability transfer is invisible until there’s an incident or an inspection.
Professional gate repair in Long Beach typically runs $150-$340 for most common repairs like photo-eye realignment, hinge replacement, capacitor replacement, and limit-switch resetting, with full operator replacement running higher depending on brand and gate weight. The price is written before work starts when you work with a contractor who operates on written quotes. Call (424) 788-1027 for an exact quote on your repair, estimates are free.
Most common gate repairs can be completed the same day when the technician has the necessary part on the truck, which is typical for photo eyes, limit switches, capacitors, and hinge hardware. If a specialized part like a specific control board or gear assembly for a DoorKing or Elite operator needs to be ordered, the repair is scheduled when the part arrives. Call (424) 788-1027 and a live person will tell you what’s realistic for your specific gate, free.
After a professional gate repair, you should receive a written description of what was found, what was adjusted, what was replaced, the part numbers installed, and the post-repair readings from any diagnostic test performed. A strong contractor also leaves a photographed record, which is standard practice under the documented-service model; this is the paper trail that protects you if the same component fails later. If no documentation is offered, ask for it before paying.
Most gate opener repairs in Long Beach do not require a separate city permit because they’re classified as maintenance and repair of existing equipment, not new construction. However, if the repair involves running new electrical conduit, adding a new operator where there wasn’t one before, or modifying the physical gate structure, Long Beach building code may require a permit. When in doubt, ask the contractor to confirm in writing before work begins.
The Bottom Line
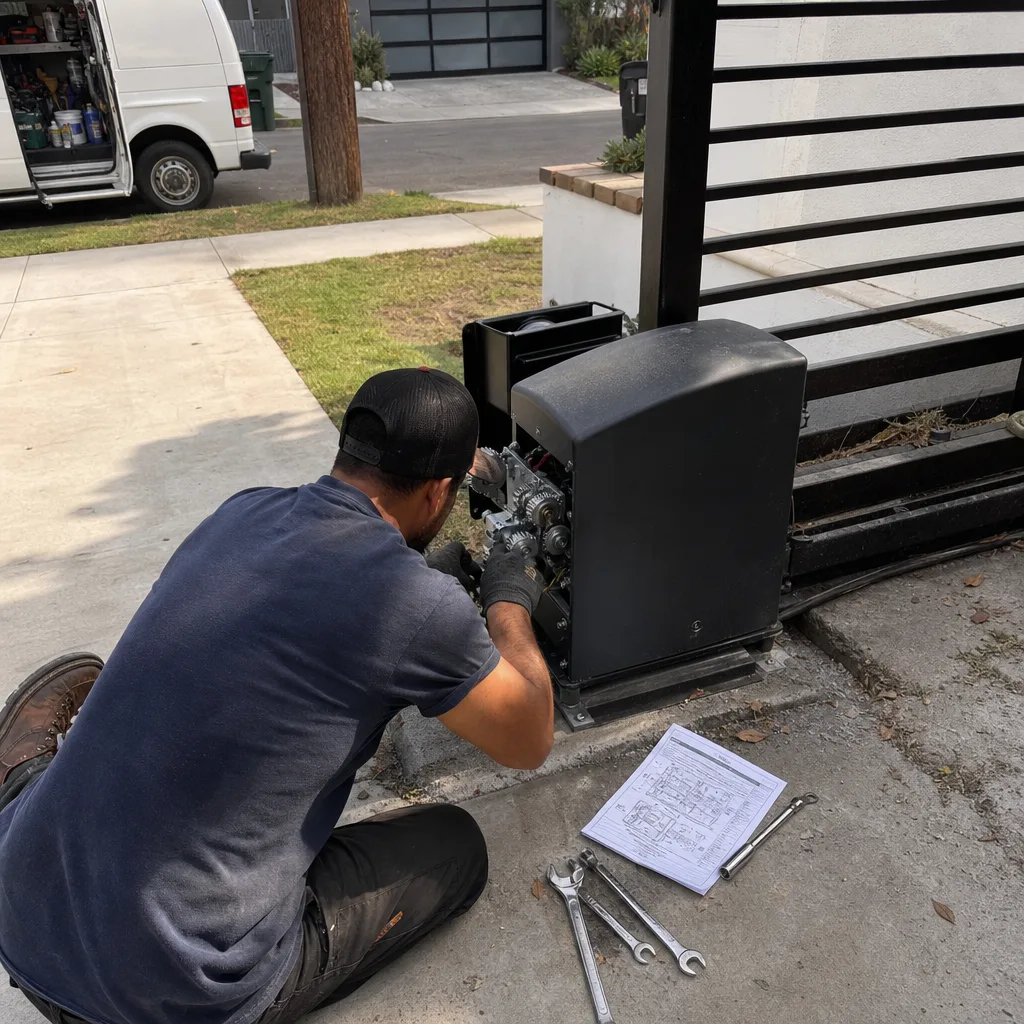
The DIY-vs-professional gate repair question has a clean answer when you sort repairs by liability rather than visible difficulty. Mechanical adjustments and hardware replacement are legitimate DIY territory with proper documentation. Anything touching the operator’s electrical system, limit switches, photo eyes, contact edges, or capacitors is professional-required, not because you can’t learn it but because the liability transfer and the cost of a wrong guess outweigh the labor savings. In Long Beach, where salt air accelerates corrosion and the marine layer keeps hardware damp, the documentation habit is the difference between a hobby and a liability. The homeowner who photographs, labels, and documents wins either way.
Gate Repair in Long Beach | Gate Installation in Long Beach | Gate Motor & Opener in Long Beach
Written by Adrian Vance, Owner at Vance Gate Repair Long Beach, serving Long Beach since 2014.